
When you're done testing your OTA image, you're ready to release the OTA image to Production using the Production channel.
Configure source
To release an OTA update to Production:
Select the Release tab.
Select the Production channel from the drop-down menu.
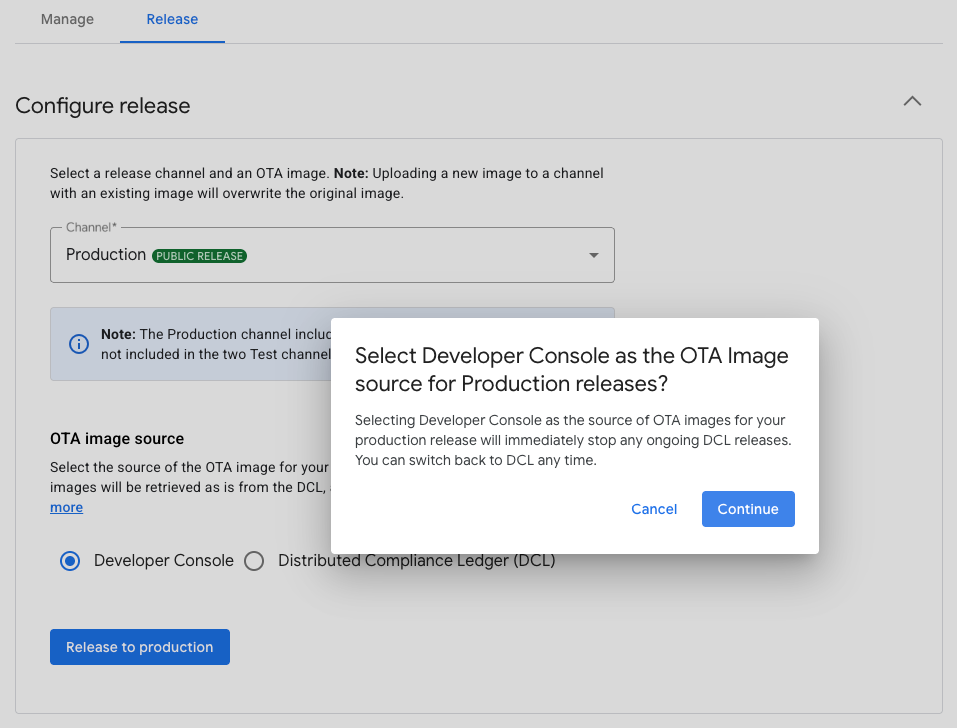
Select either Developer Console or Distributed Compliance Ledger (DCL) as the source for the OTA image:
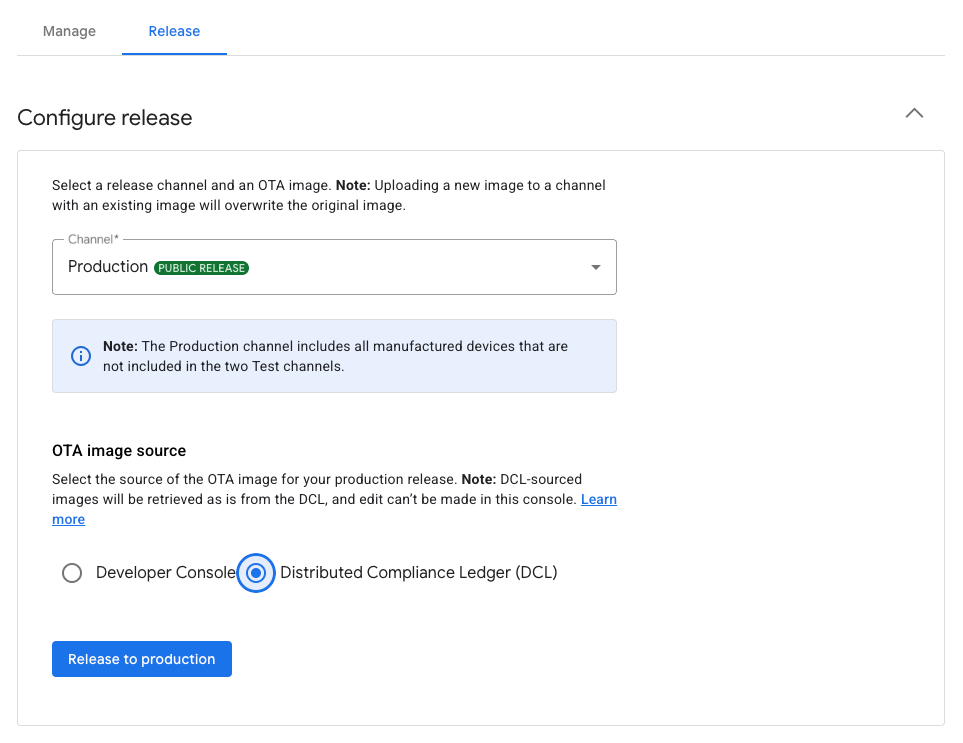
Figure 1: Choosing the production release image source
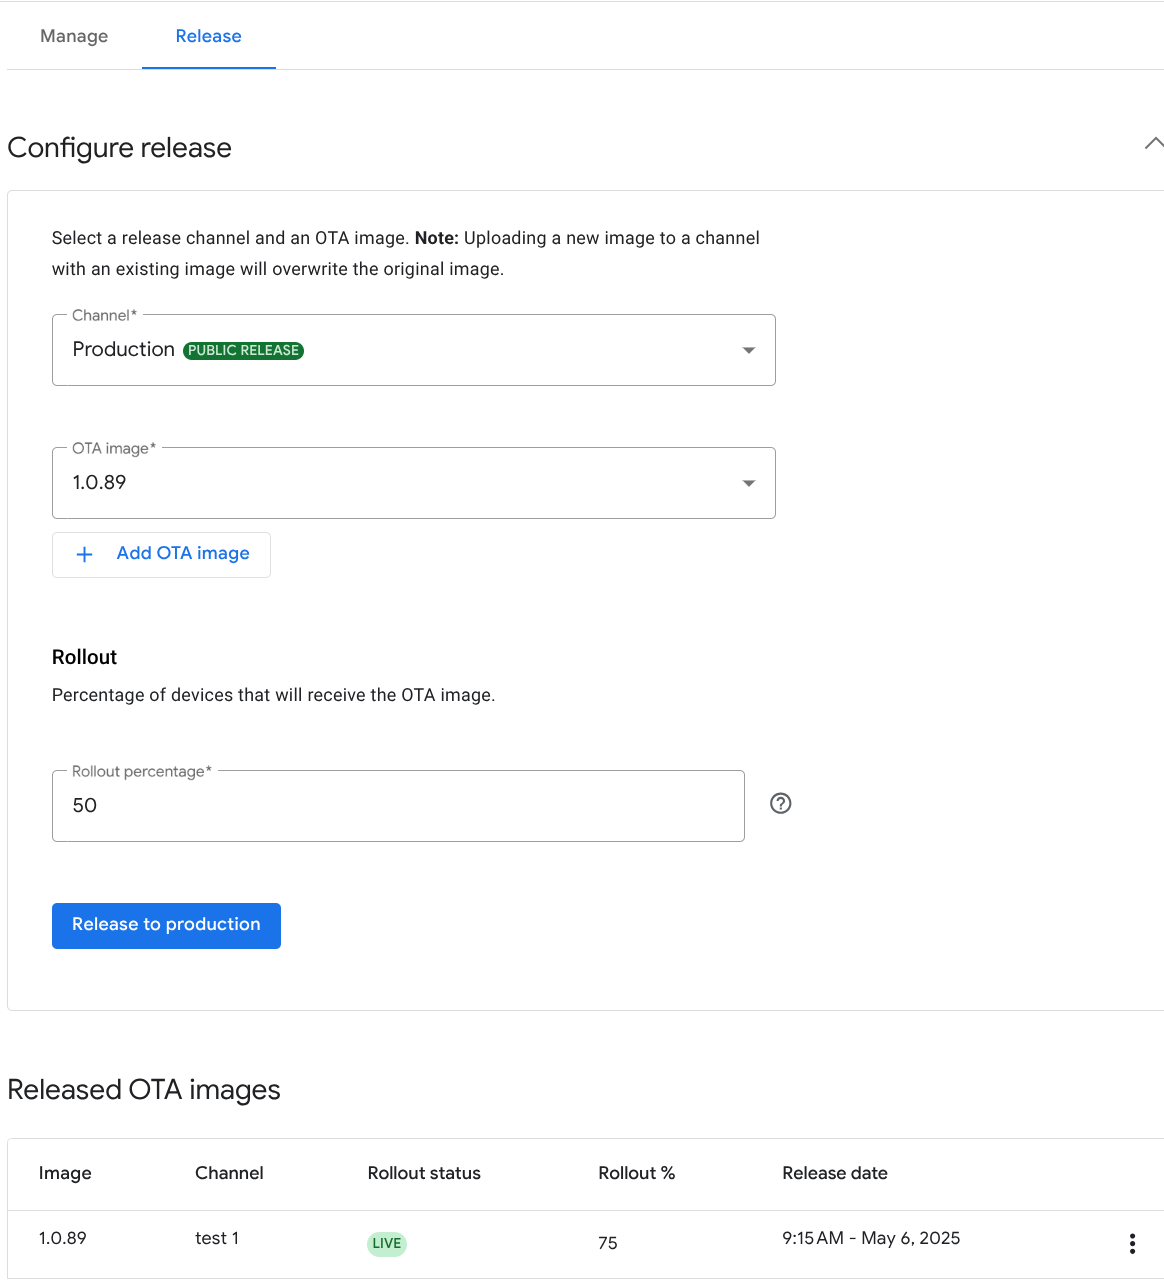
Release an OTA image using the Developer Console
Select an image from OTA Image and add it by clicking Add OTA Image.
Rollout percentage represents the percentage of devices that will receive the OTA image. For this field, specify an integer from 1 to 100. Enter a value less than 100 if you prefer to release the OTA image in batches.
If you roll out the image in batches, an algorithm selects the devices randomly and does not necessarily deliver the update to the exact percentage of devices you configured in the Rollout percentage field. However, a large pool of devices, such as 1,000 or more, gives the algorithm a higher chance of meeting the configured rollout percentage.
Release an OTA image using the DCL
Selecting Distributed Compliance Ledger (DCL) uses the DCL as the source for the OTA image for production release.
Click Release to Production.
A confirmation dialog appears. Click Release to confirm the Production release.

Figure 2: Confirm the production release
Check that the Production channel appears in the Live Releases table.
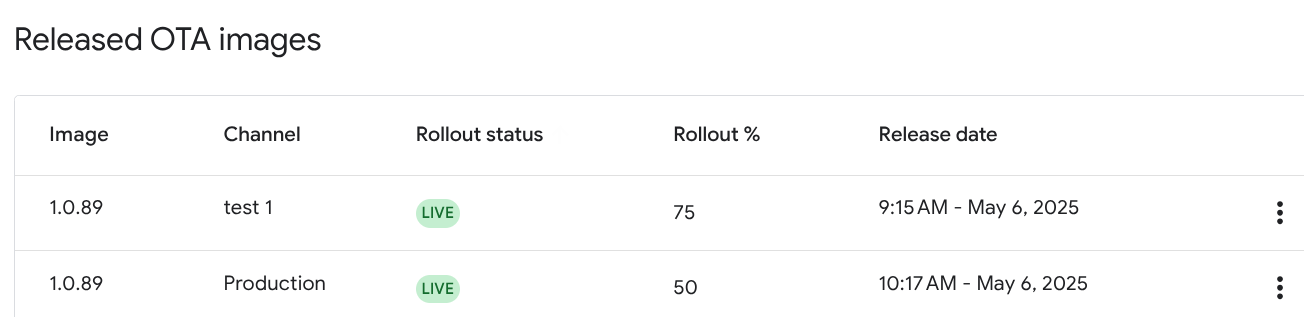
The table includes the image and channel names, the status of the rollout (either LIVE or INACTIVE), the rollout percentage that you set, and the release date and time. Releases originating from the DCL will be displayed if present, however, they are read-only and not editable.
Stop a release
Stop a Developer Console release
In the Developer Console releases table, click the 'more' menu for the target channel as shown in Figure 4.
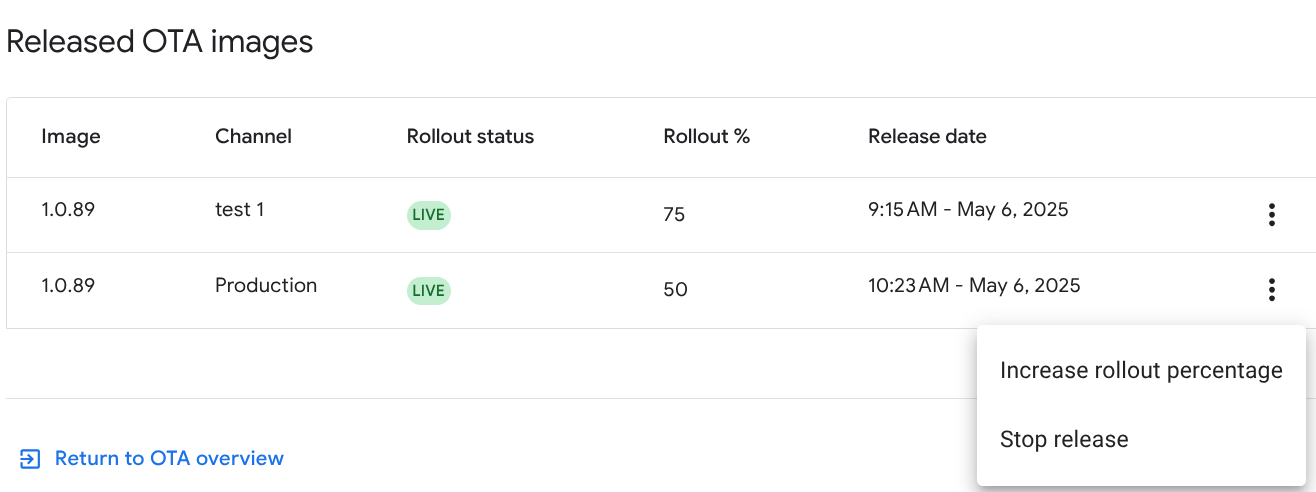
Figure 4: Stop active release Click Stop release.
The ensuing dialog window indicates that the rollout of the release to additional devices will stop immediately and that devices that have already received the release will use the updated firmware. To proceed, click Stop.
Confirm that the Rollout status in the main configuration screen has been updated to INACTIVE.
Stop a DCL Release
Switching the OTA image source from DCL back to the Developer Console will stop any ongoing DCL releases.
Continue an inactive Release
Once you have stopped a release and it has gone to the INACTIVE state, continue on the same channel in one of these ways:
- Resume the release with the initial set of devices
- Release the image to a new set of devices
- Overwrite the image on the initial set of devices
Resume the release
In the Developer Console releases table, click the 'more' menu for the inactive channel and select Resume rollout.
A dialog window informs you that the rollout will apply to the initial set of devices and with your originally configured rollout percentage. Click Resume to proceed.
Release the image to a new set of devices
In the Configure release section of the configuration screen, select the inactive channel.
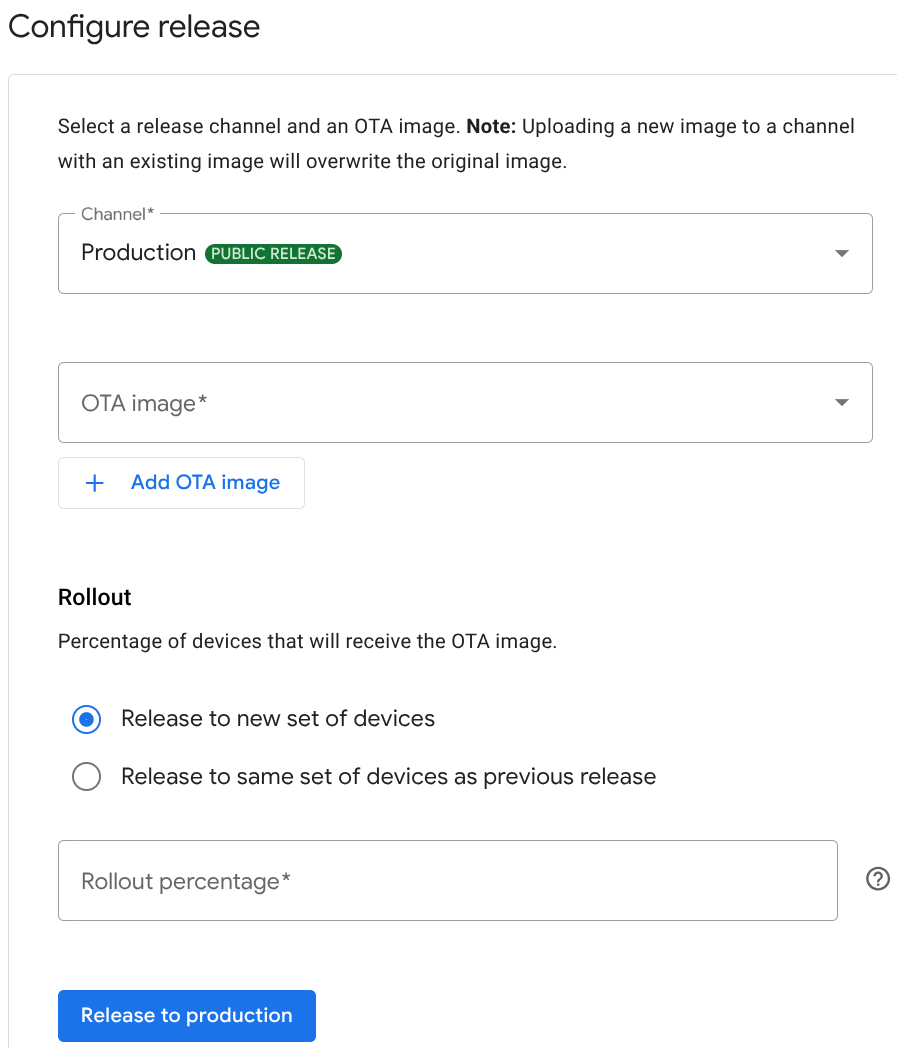
Figure 5: Rollout radio button options Under Rollout, select the Release to new set of devices radio button.
Select the image and enter the rollout percentage and proceed to release the image.
Overwrite the image on the initial set of devices
In Figure 5, under Rollout, select the Release to same set of devices as previous release radio button.
Select the image from the drop-down list and proceed to release the image. The rollout percentage remains the same as previously configured.
Increase rollout percentage
In the Developer Console releases table, click the 'more' menu for the target channel to invoke the options shown in Figure 4.
Click Increase rollout percentage.
In the ensuing dialog, enter the rollout percentage and click Save. The number cannot be less than the current rollout percentage.
Confirm that the Rollout % in the Developer Console releases table of the main configuration screen shows the new rollout percentage.