The Sample App showcases the basic capabilities of device access and control using the Home APIs for the device types it supports.
Once account authorization is complete and a structure has been selected, the Sample App loads all local devices found in that structure.
If the device is in a room, it will be listed under that room. The Sample App supports these device types:
- Color Temperature Light
- Dimmable Light
- Door Lock
- Extended Color Light
- Fan
- Google Border Router
- Google Camera
- Occupancy Sensor
- On/Off Light
- On/Off Plug-in Unit
- Temperature Sensor
- Thermostat
- Window Covering
Actions on existing devices and automations
The Sample App consists of two tabs - Devices and Automations. Each tab provides information about the structure and lets you perform tasks.
Devices tab
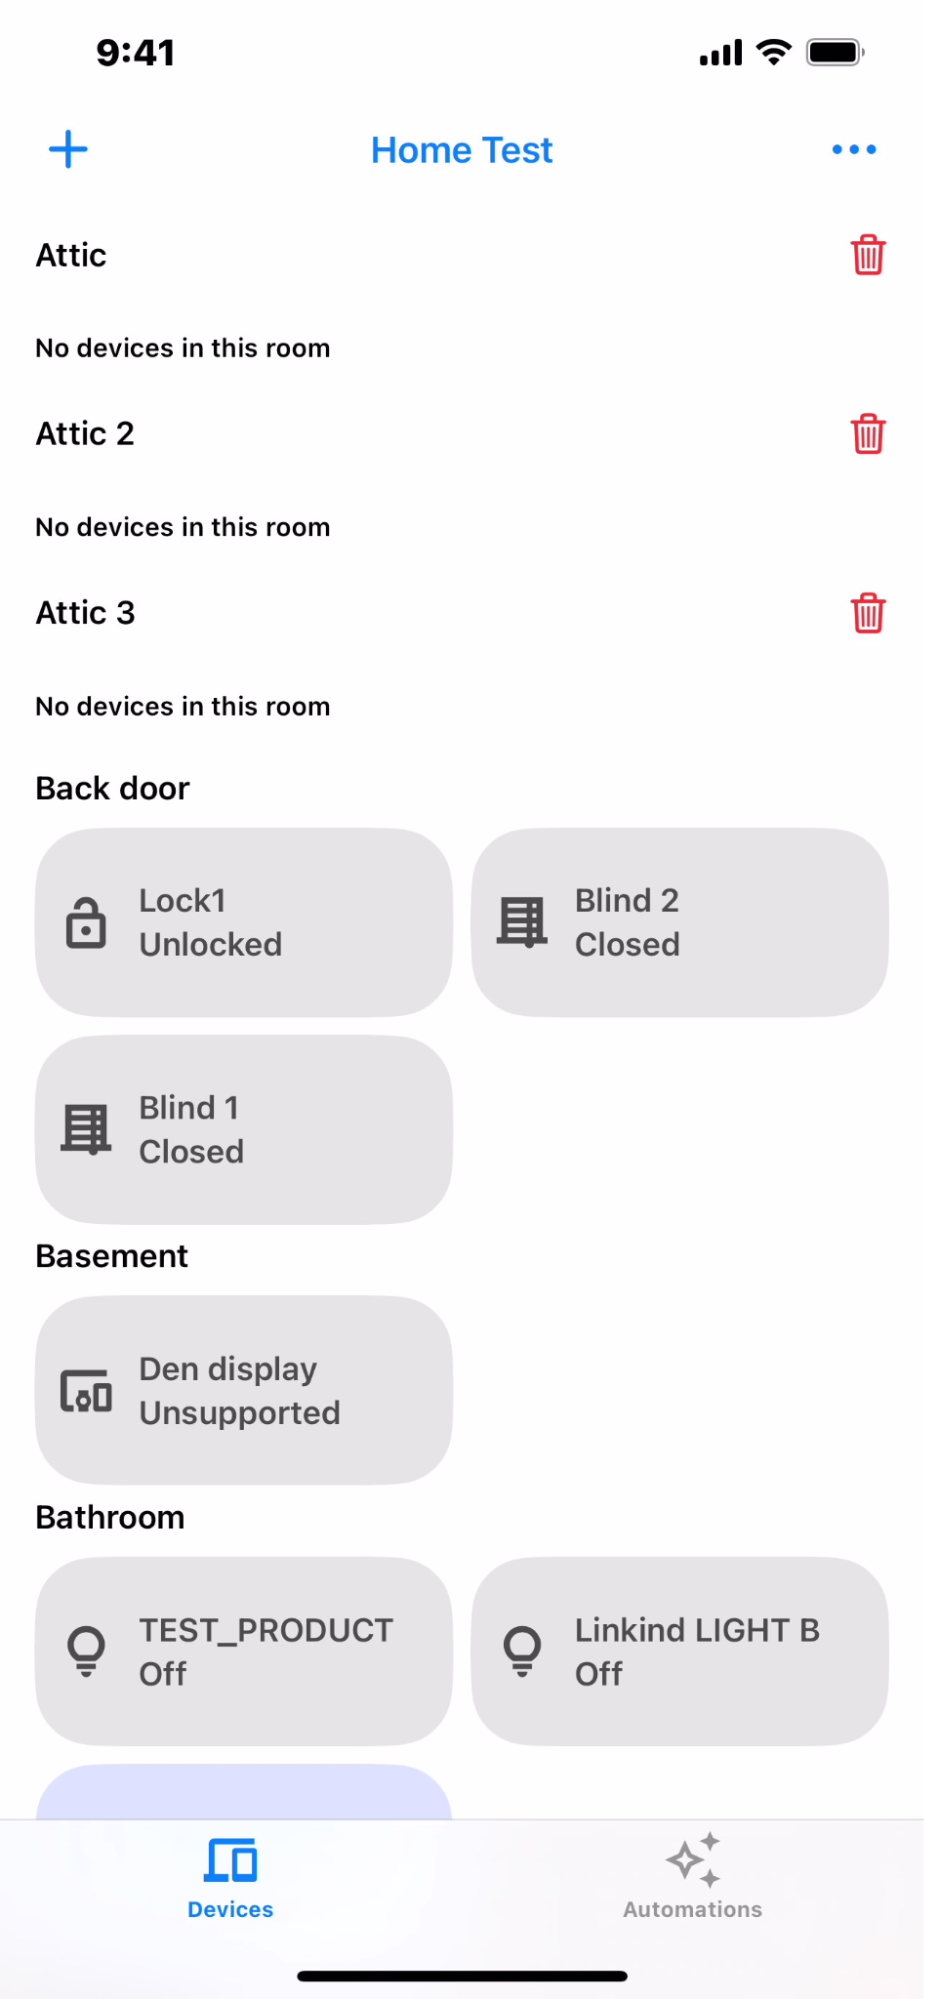
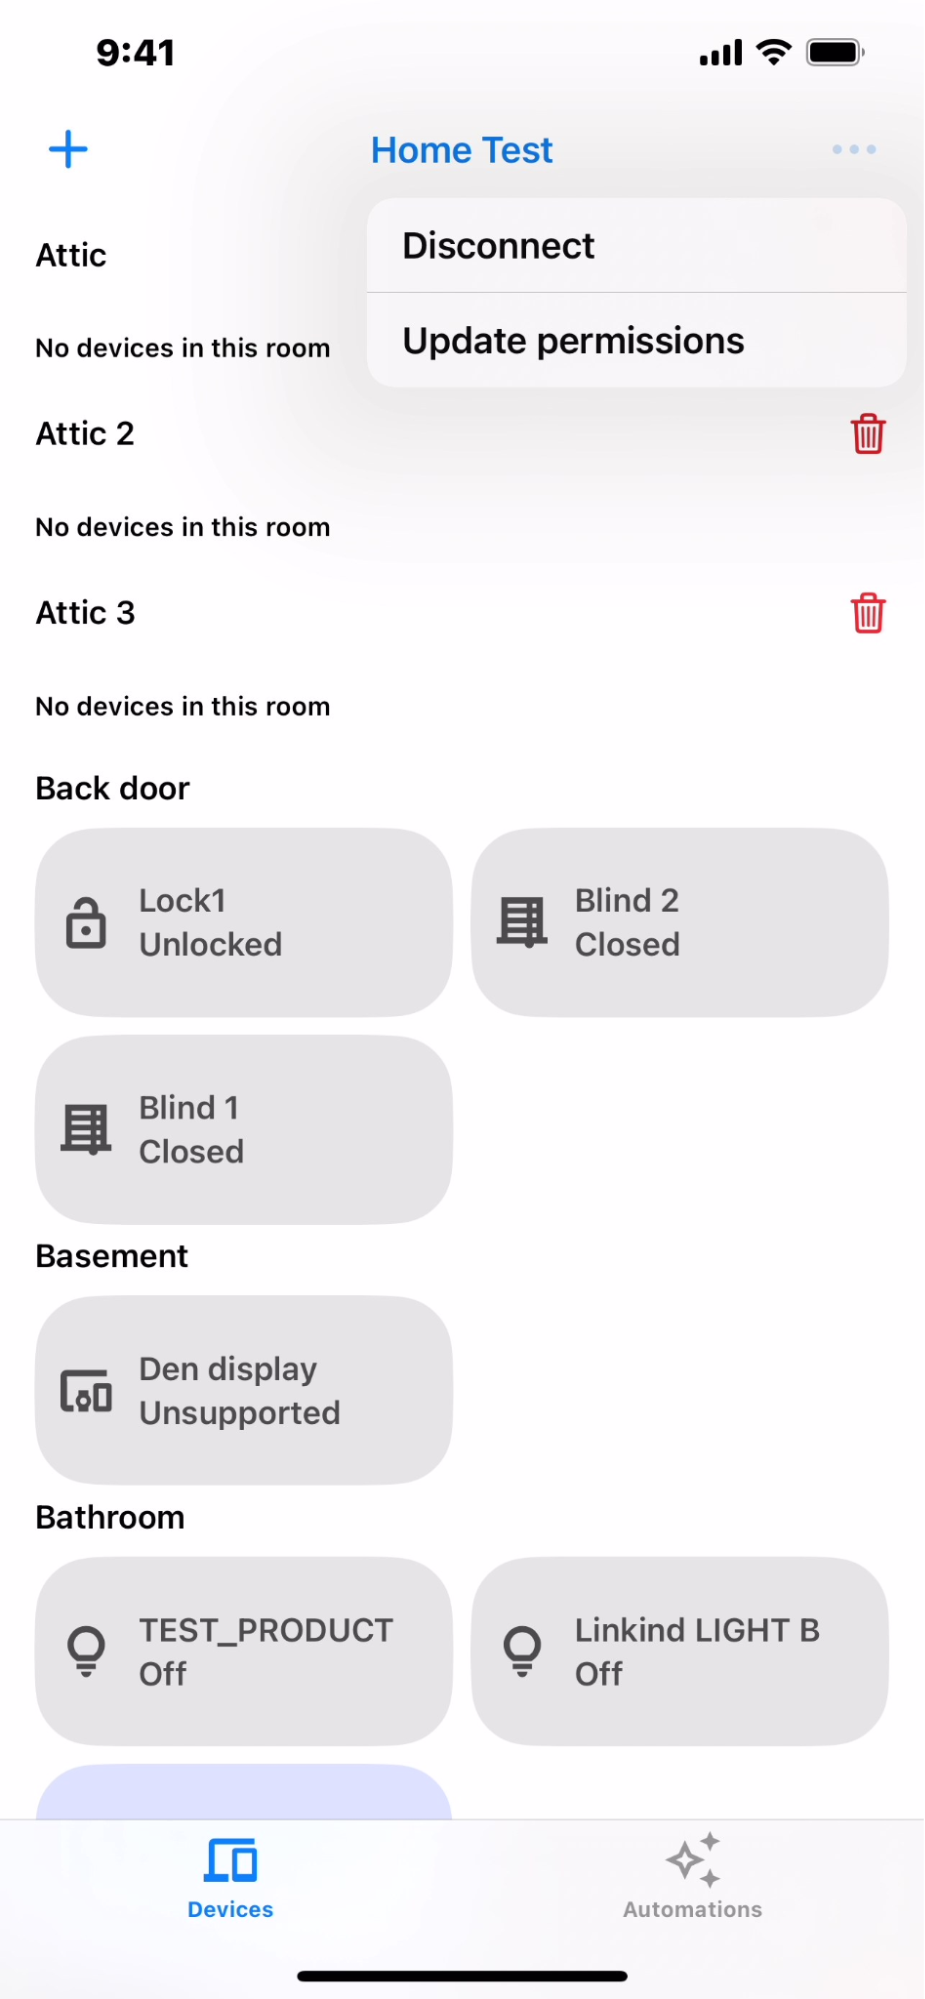
The Devices tab (Figure 1) shows the rooms in the structure (Bathroom, Den, Office) and the devices for each room, along with the status of each device. You can also disconnect your device or update permissions by clicking the more_horiz icon at the top right of the screen (Figure 2).
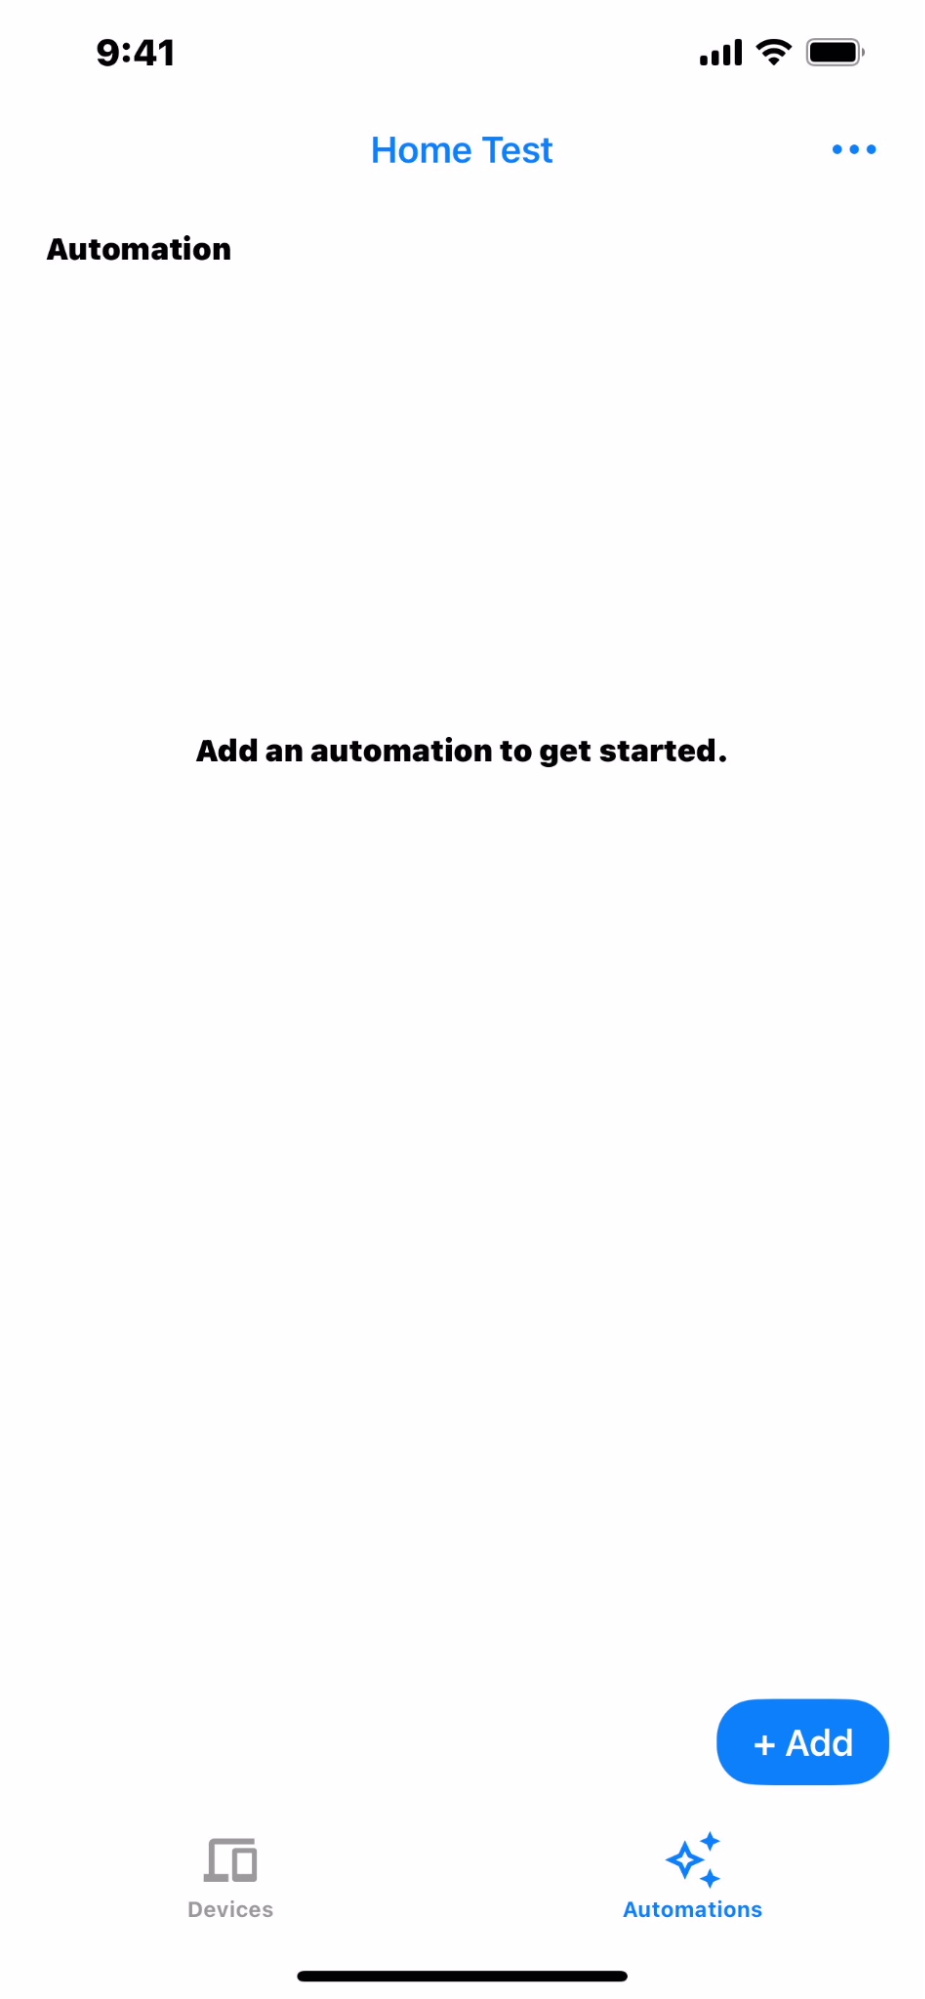
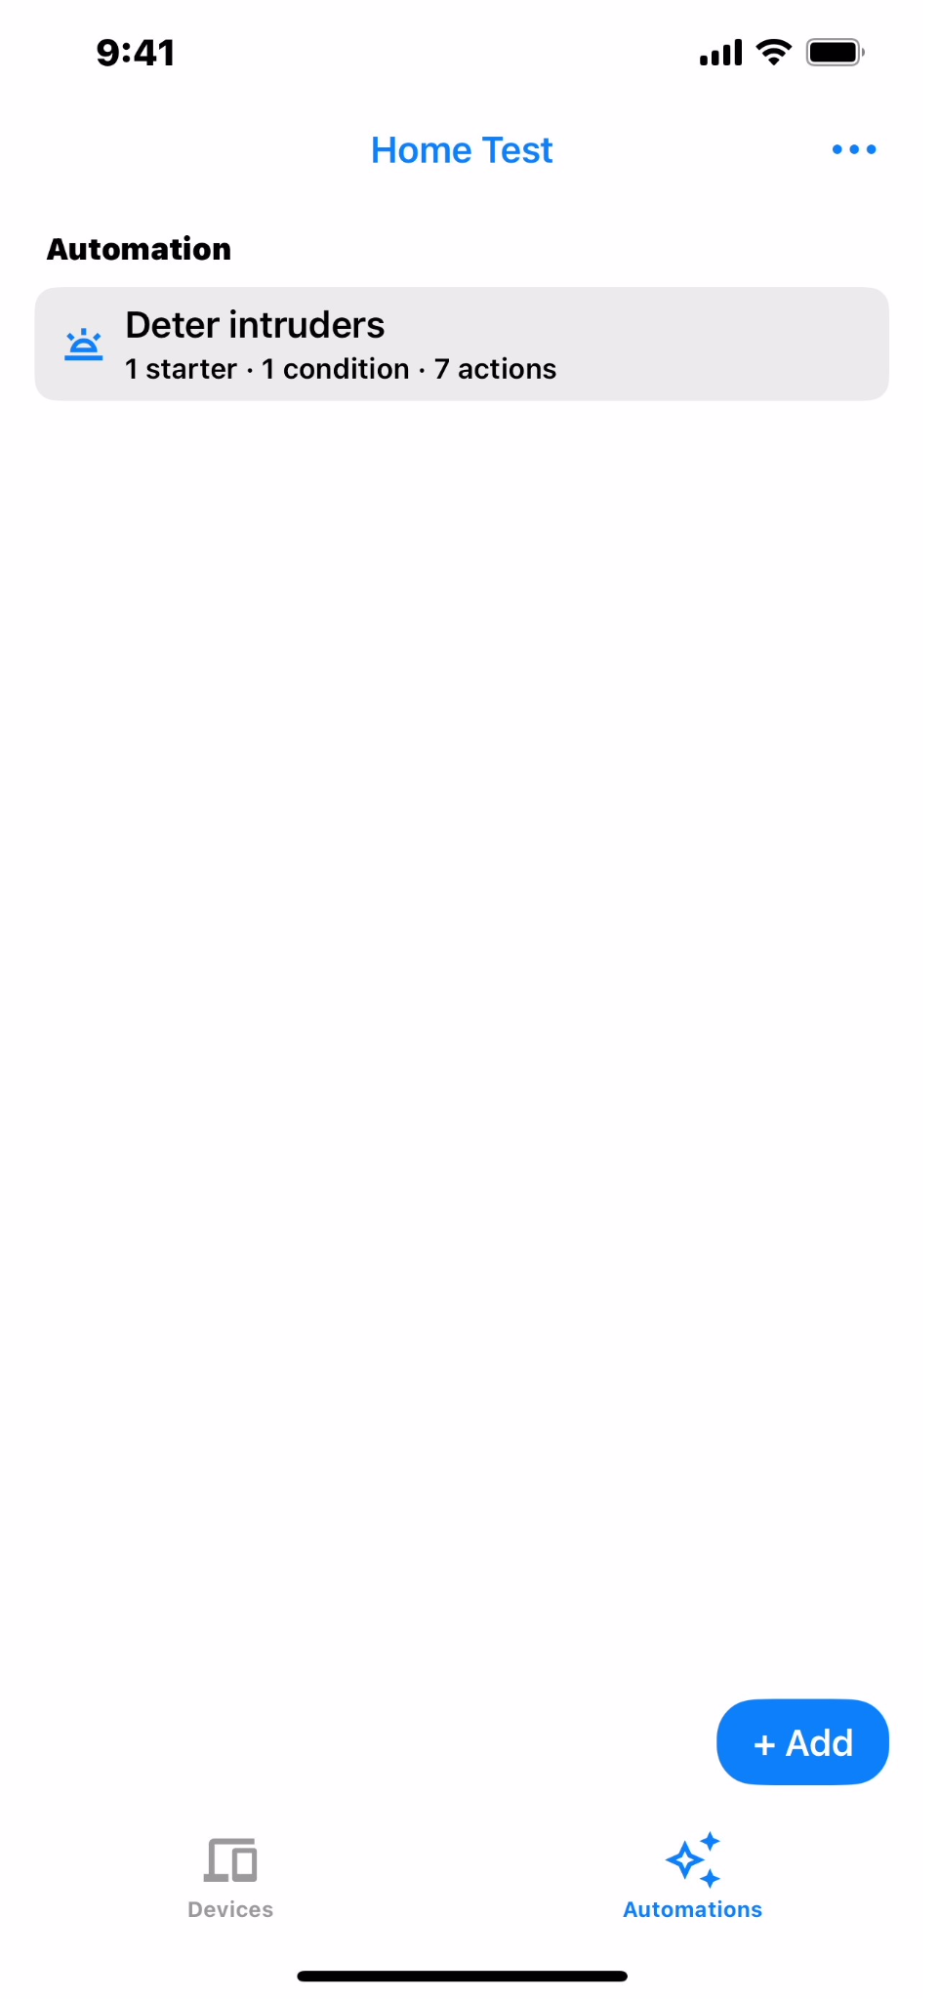
Automations tab
The Automations tab (Figure 3) shows a list of all automations for the structure. Each automation shows its starters and actions. Multiple starters and actions are supported.
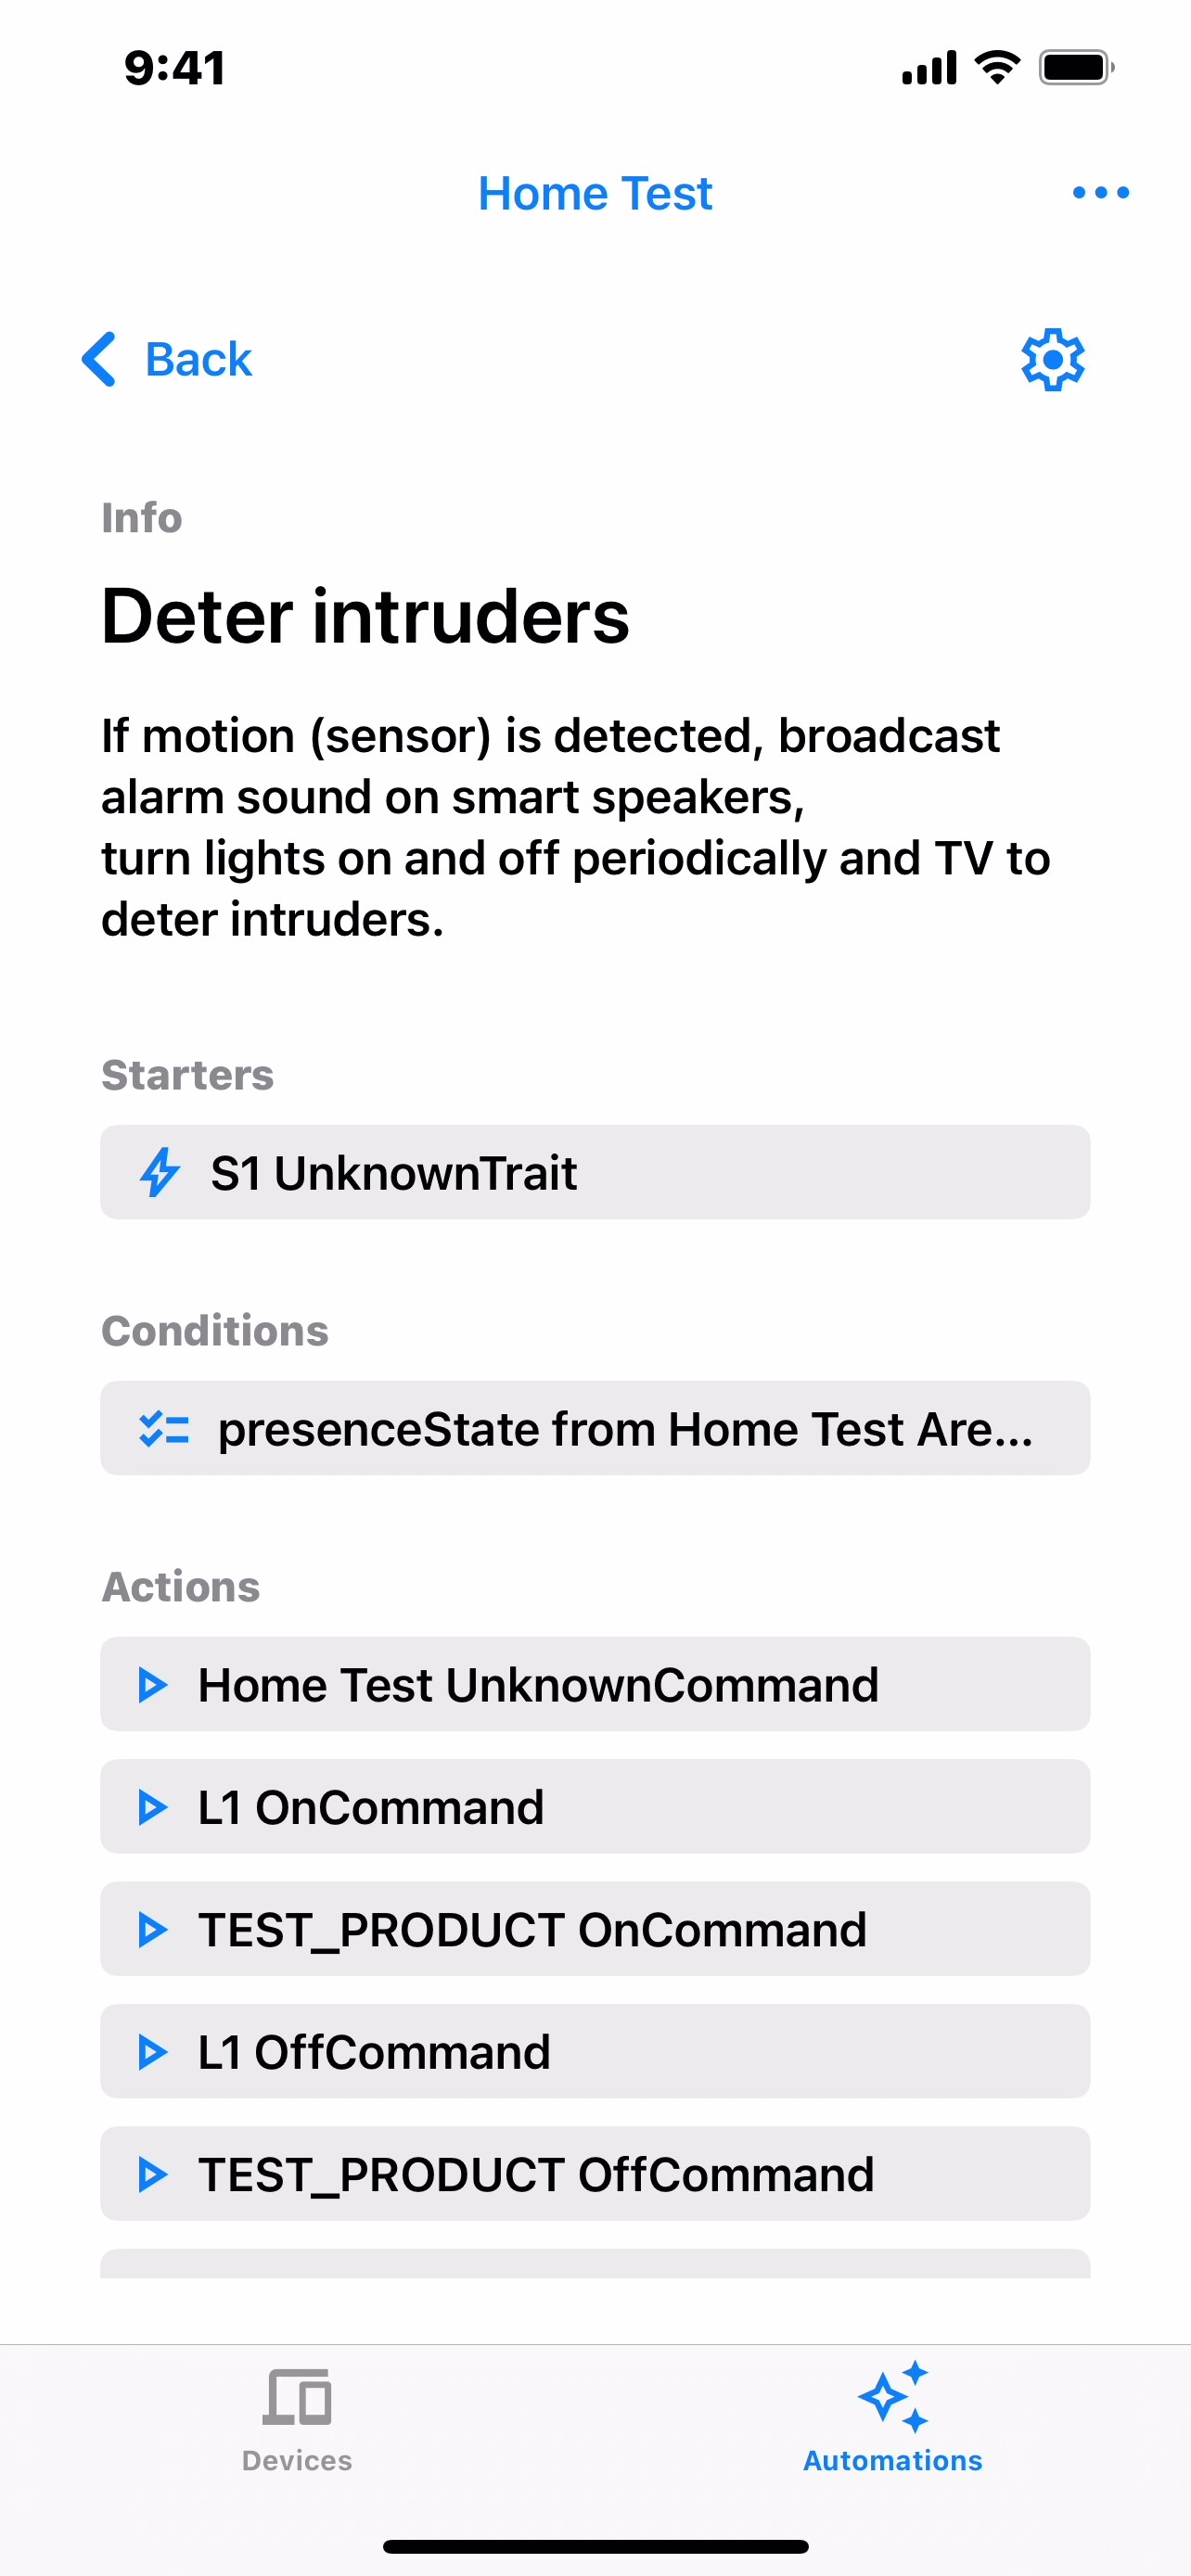
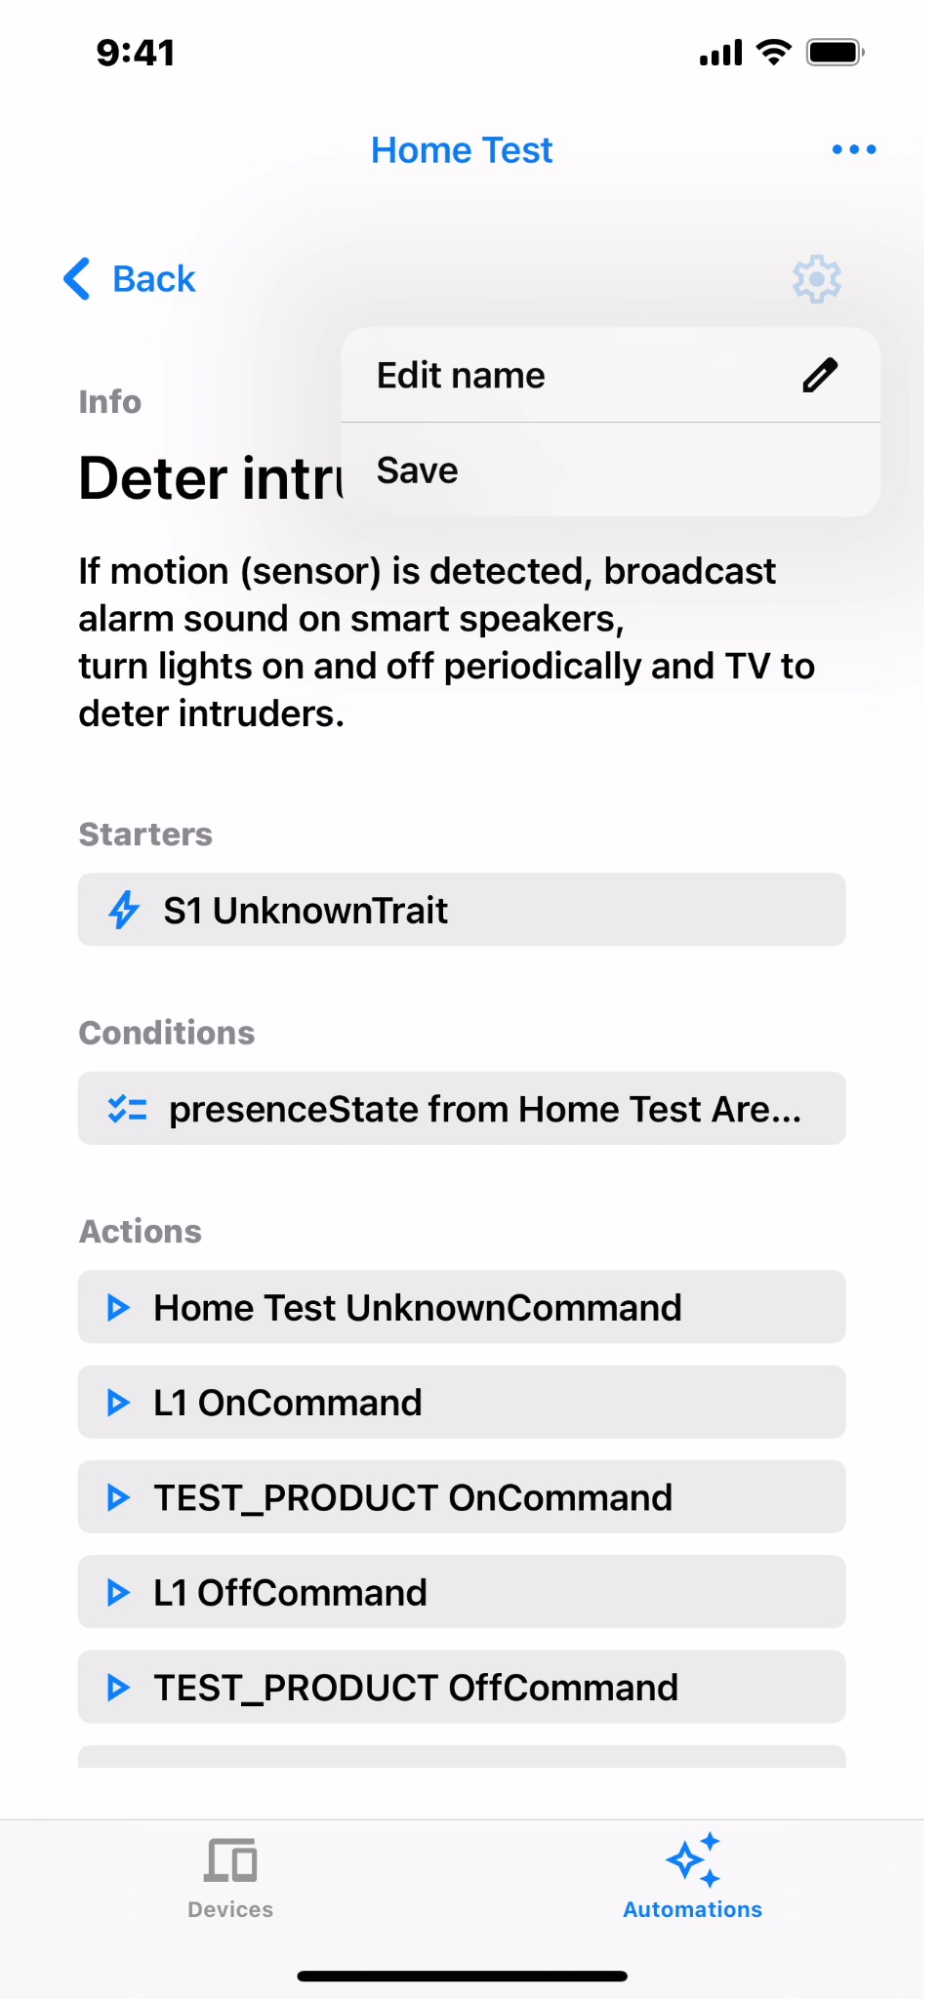
Tap an automation to view its details, as shown in the example in Figure 4. In this detailed view, you can see the detailed description of the starters, conditions, and actions.
Create an automation
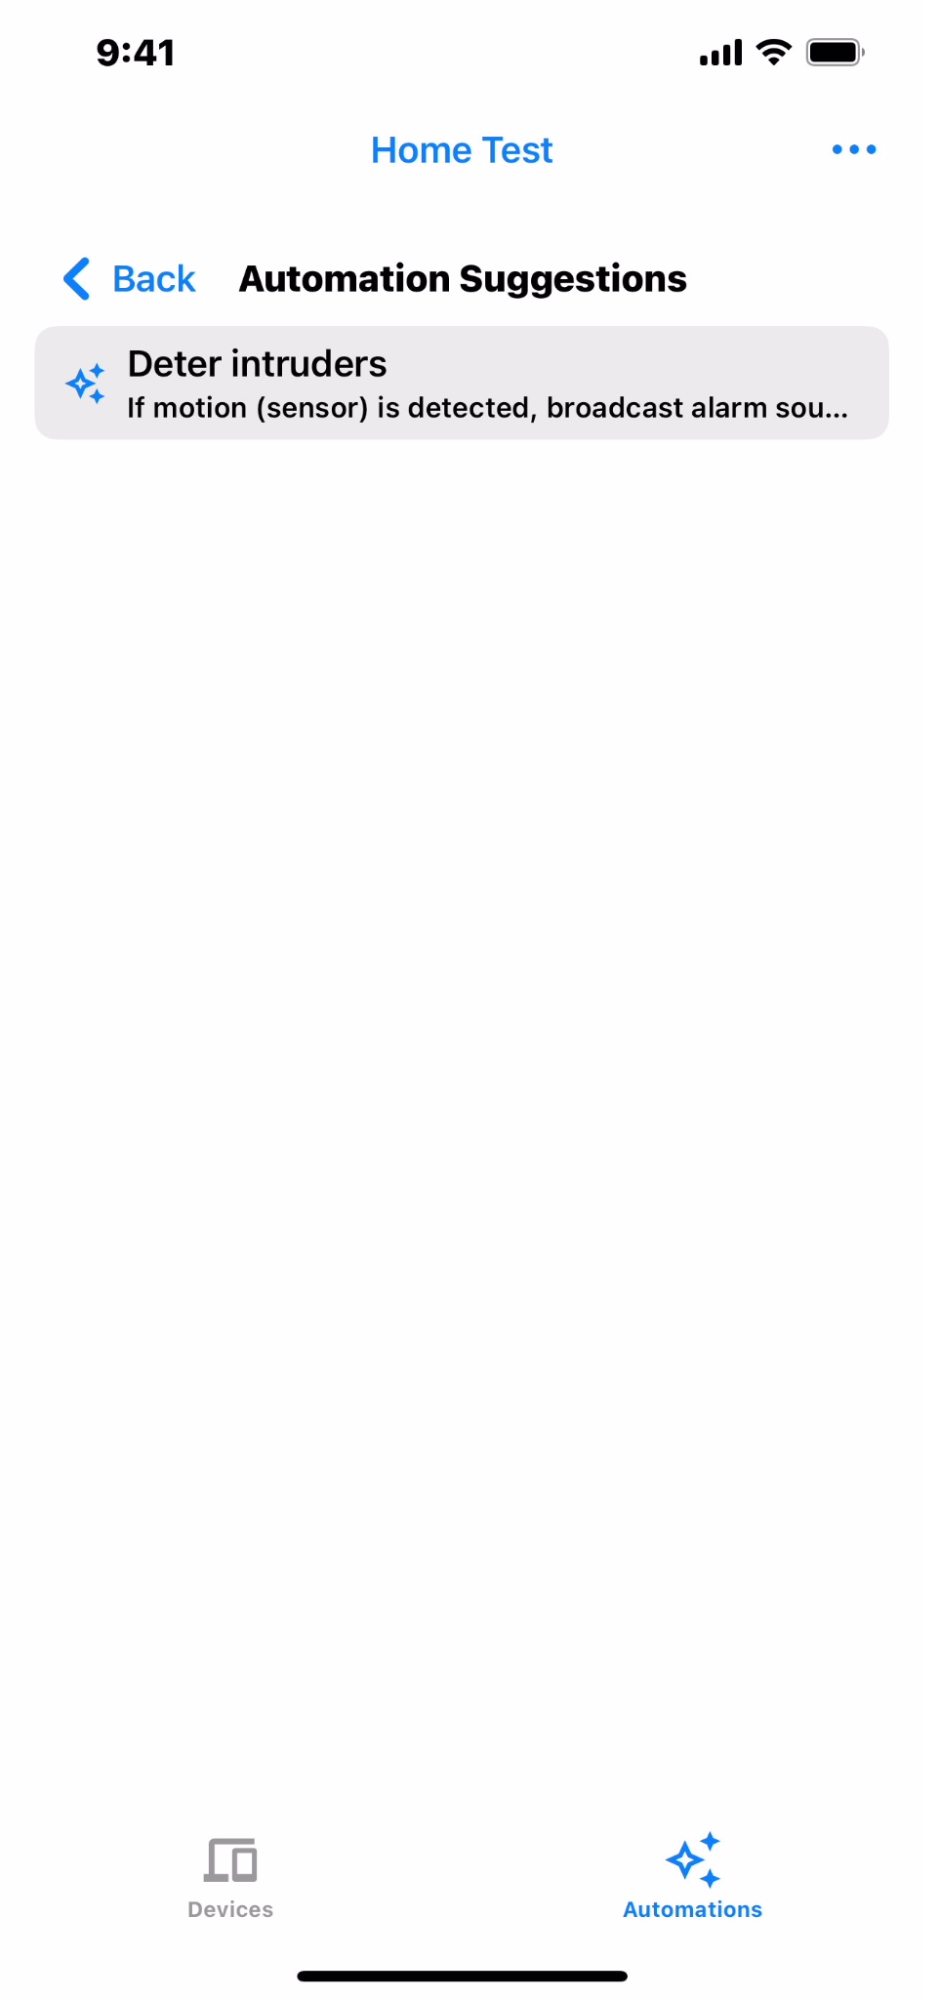
To create a new automation, tap the +Add button from the automations list view (Figure 3). The next screen will show a list of suggested automations. Select the automation you want (Figure 5). If nothing auto-populates, then the structure doesn't contain the sufficient devices needed for automation. For example, if you would like to turn on the fan and light, the structure should contain both the fan and light devices, otherwise the automations will not display.
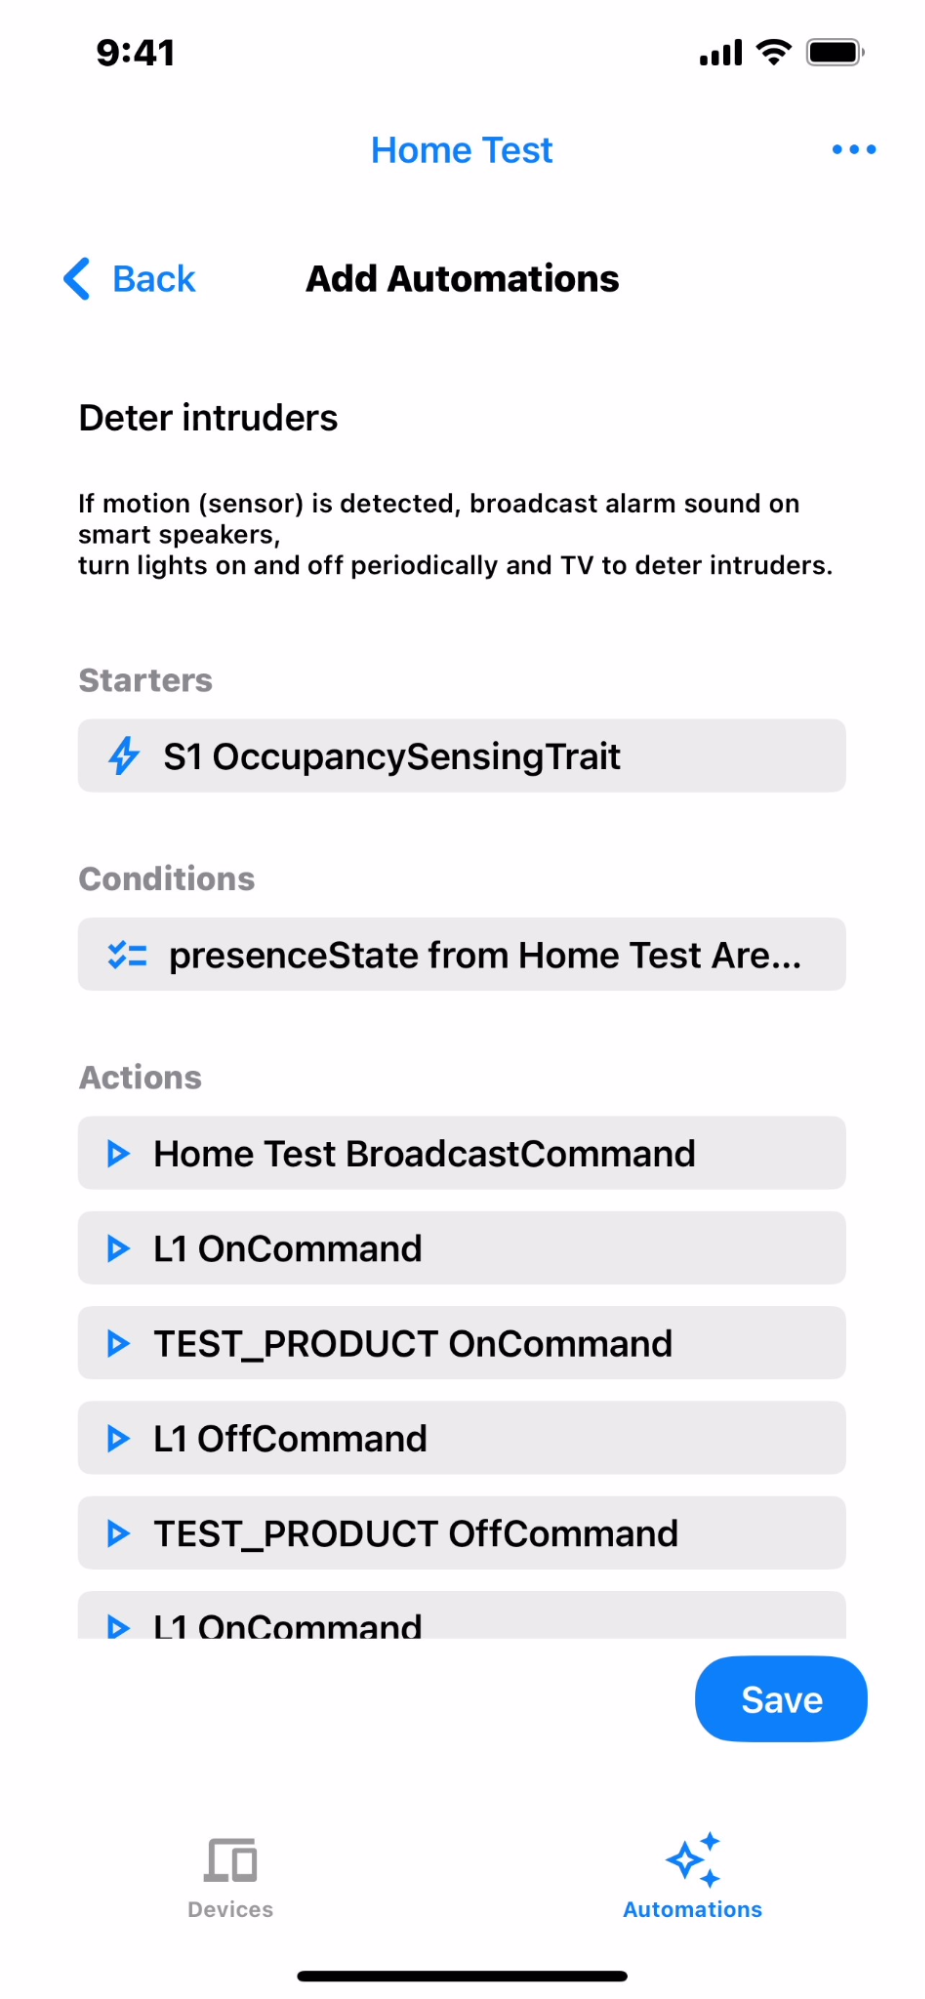
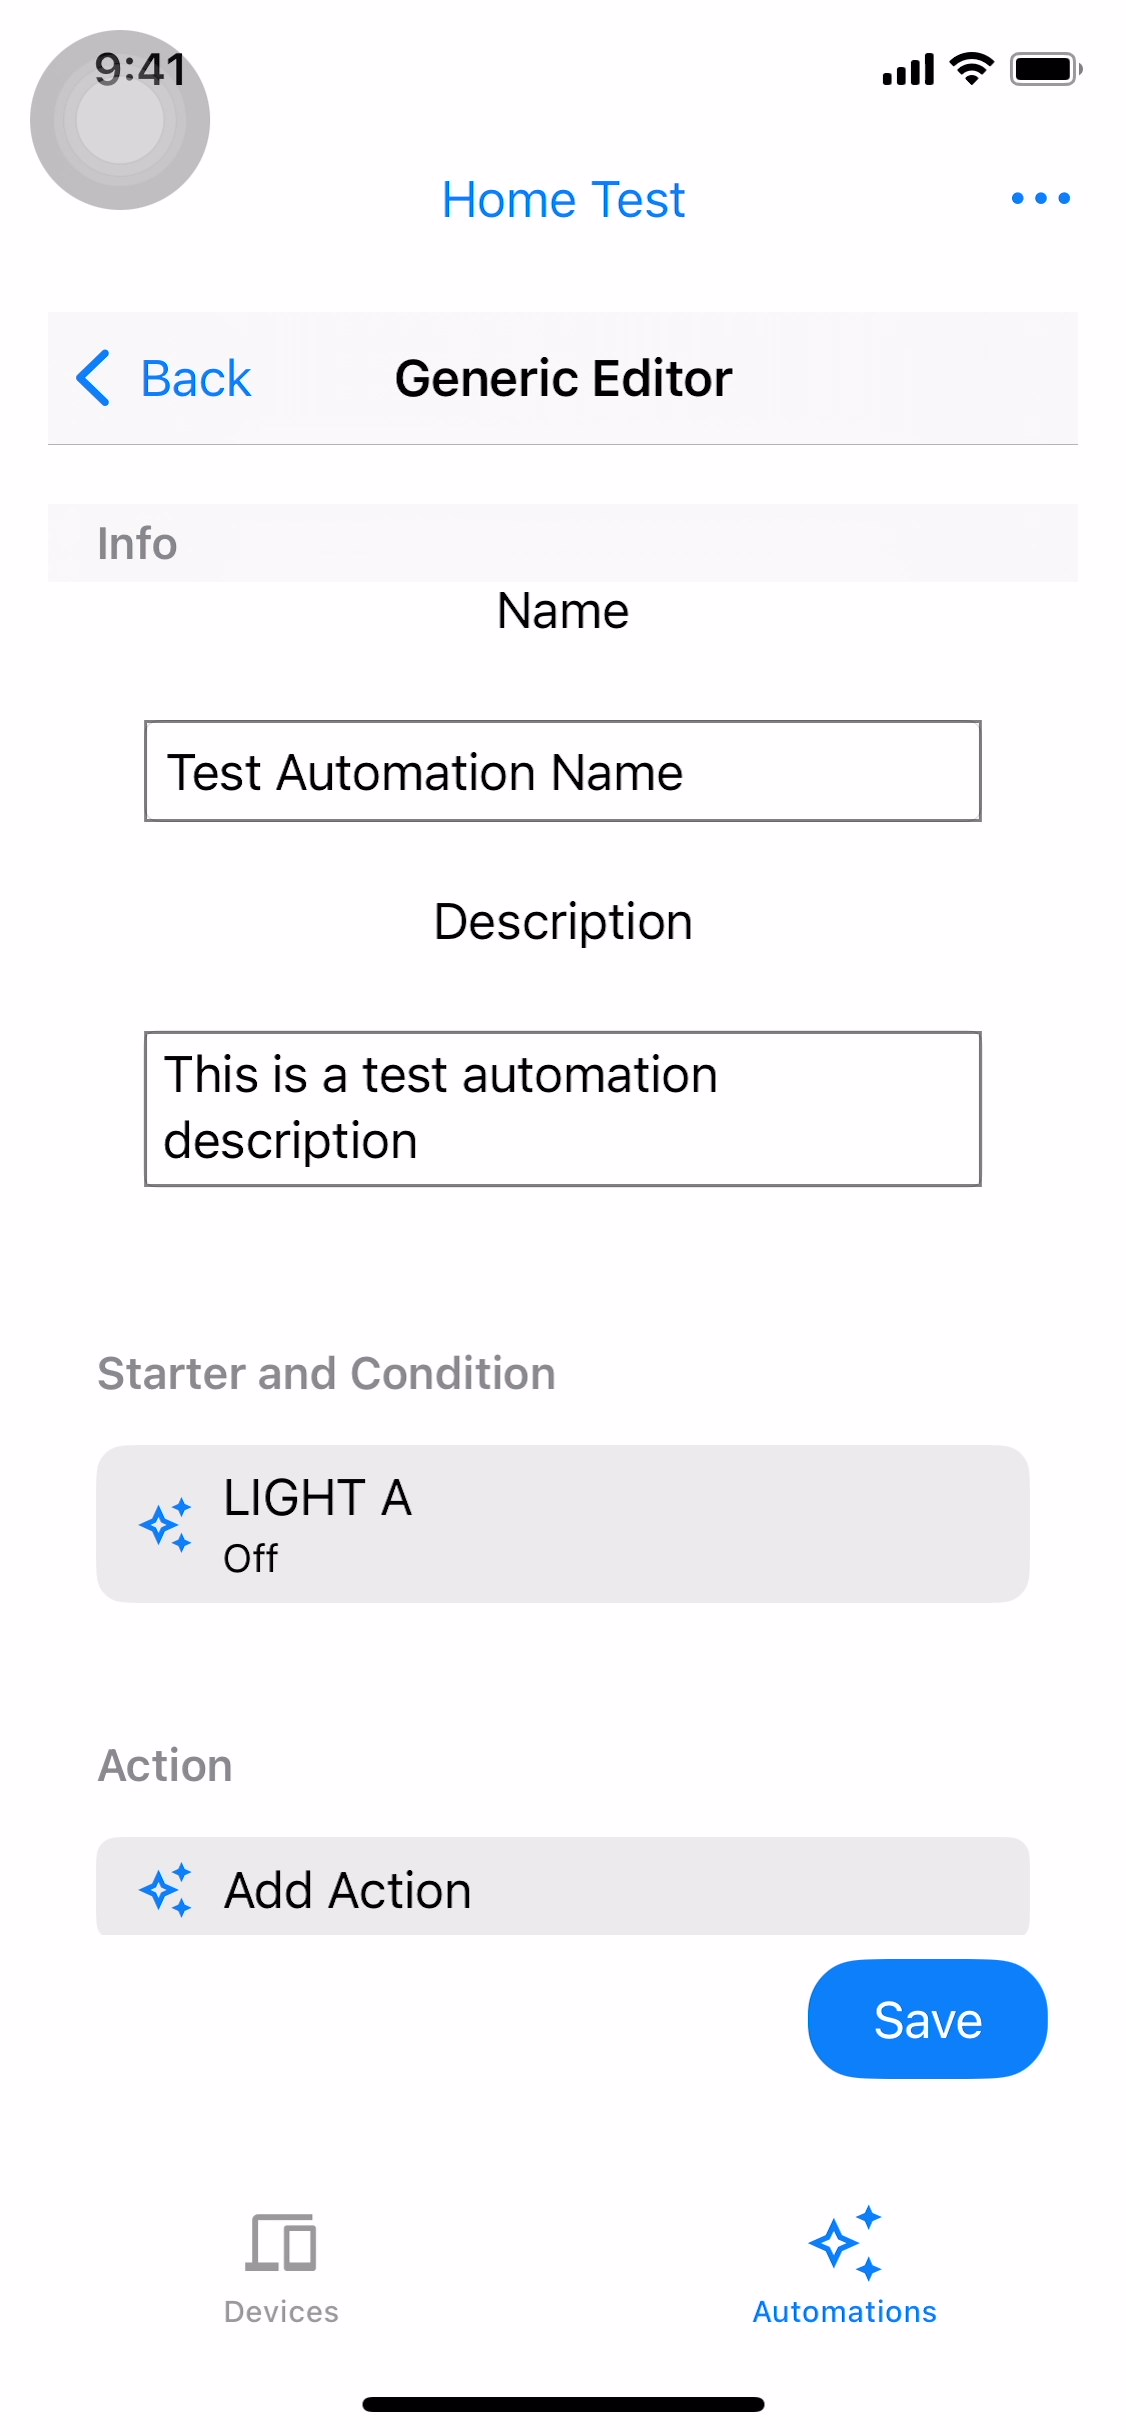
After selecting your automation, you will see the Starters, Conditions and Actions (Figure 6). Click Save to add your automation (Figure 7).
Edit an automation
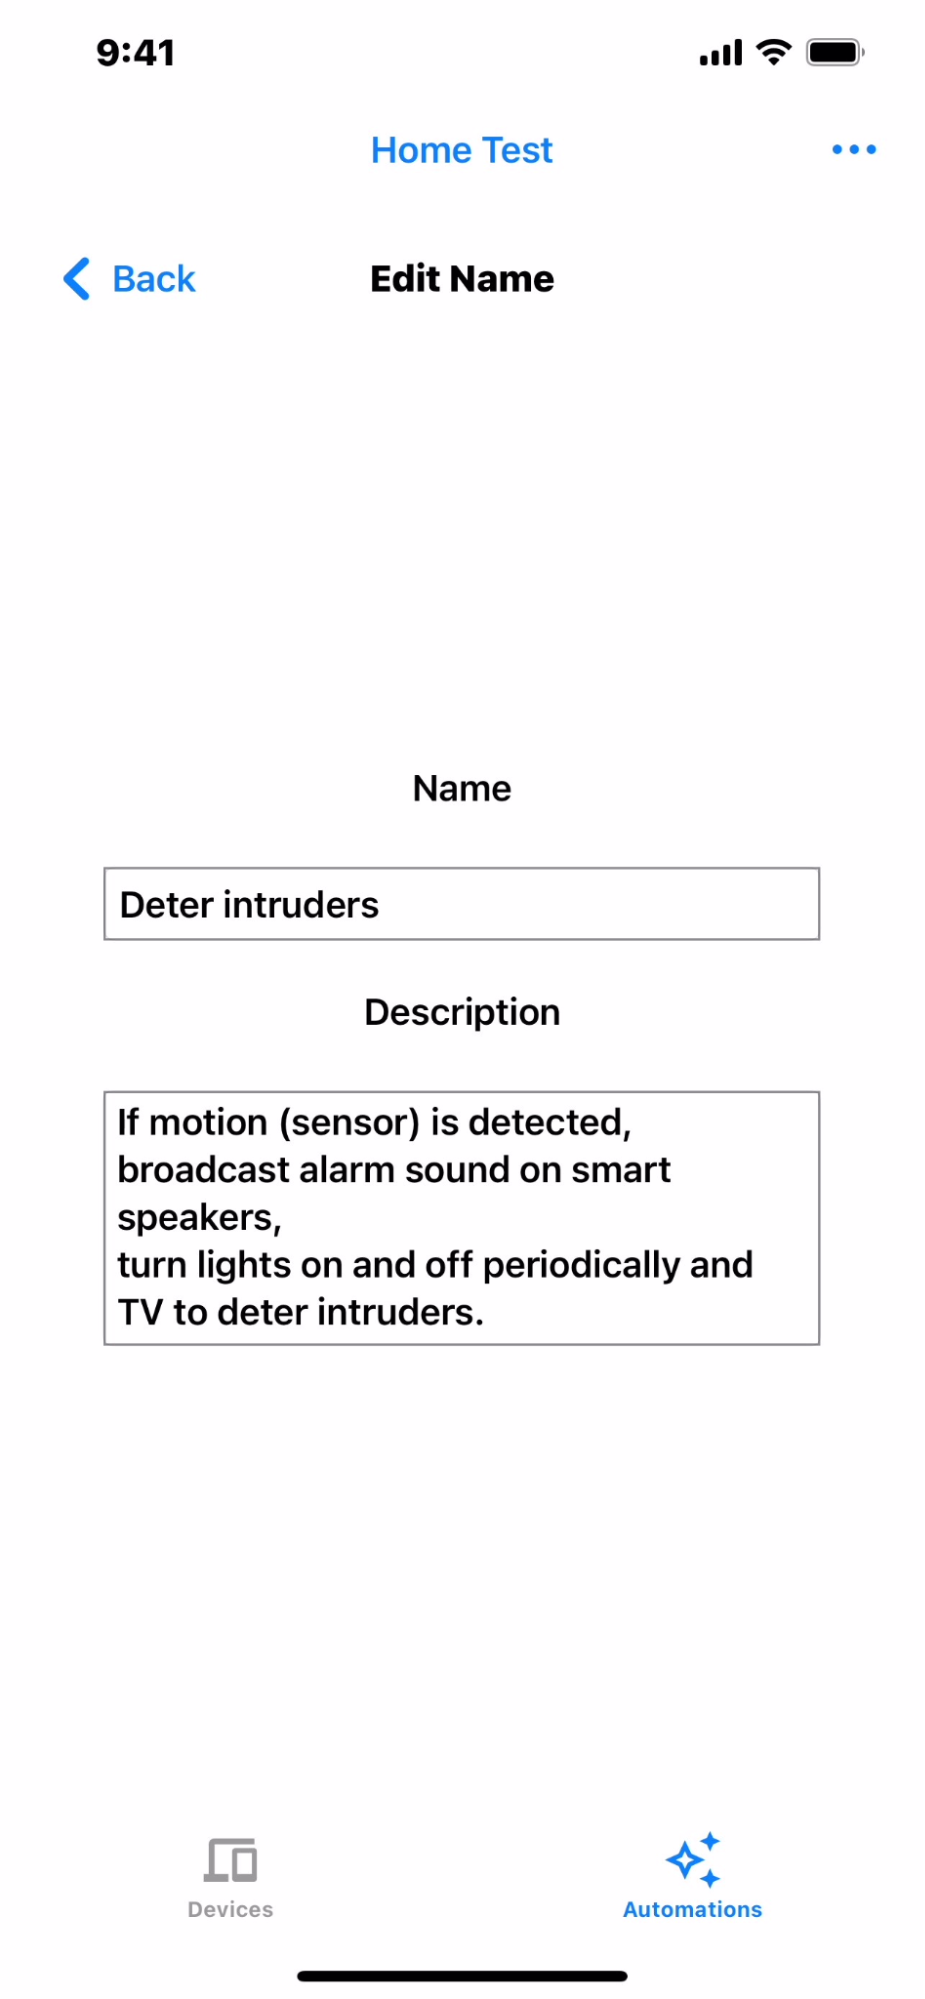
To edit the Automation name and description, from the detailed automation view (Figure 4), click the settings icon and click Edit name (Figure 8). As shown in Figure 9, edit the name and description and go back once completed (Figure 8). To save, click the settings icon and then click Save.
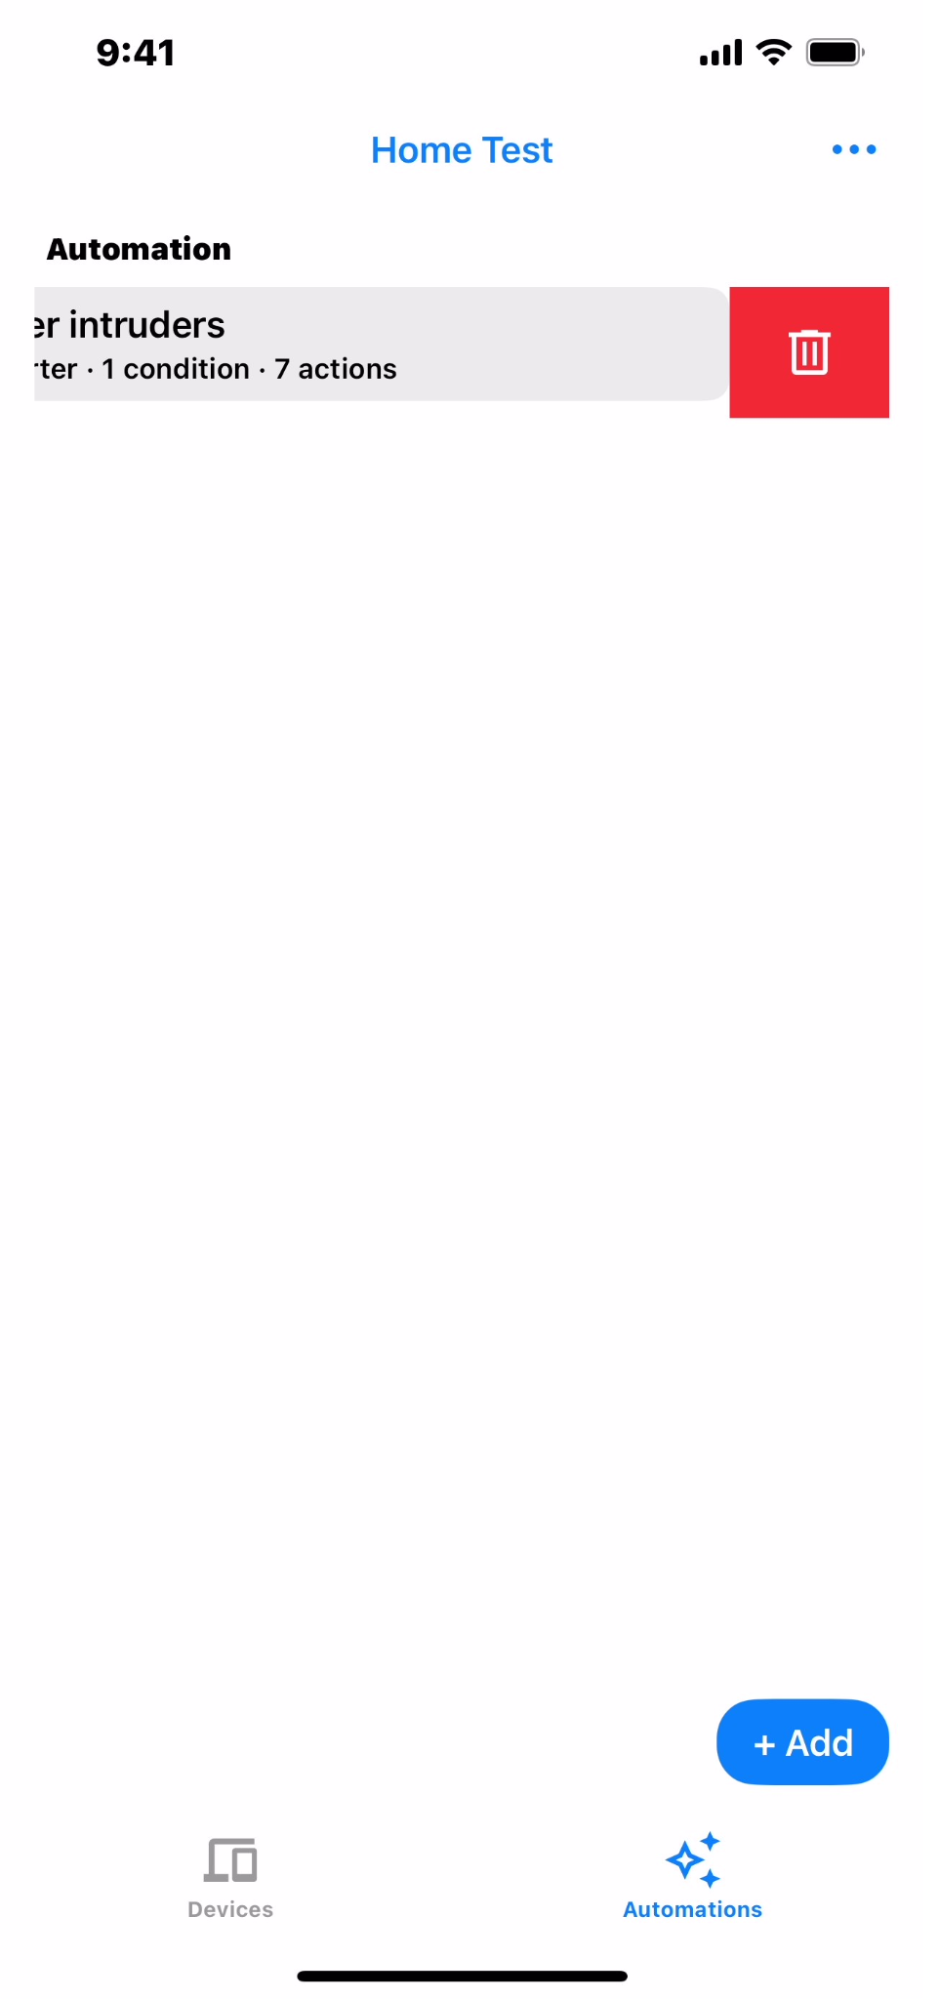
Delete an Automation
To delete an automation, go to the automation overview (Figure 7). Swipe left on the automation you want to delete and click the delete icon (Figure 10).
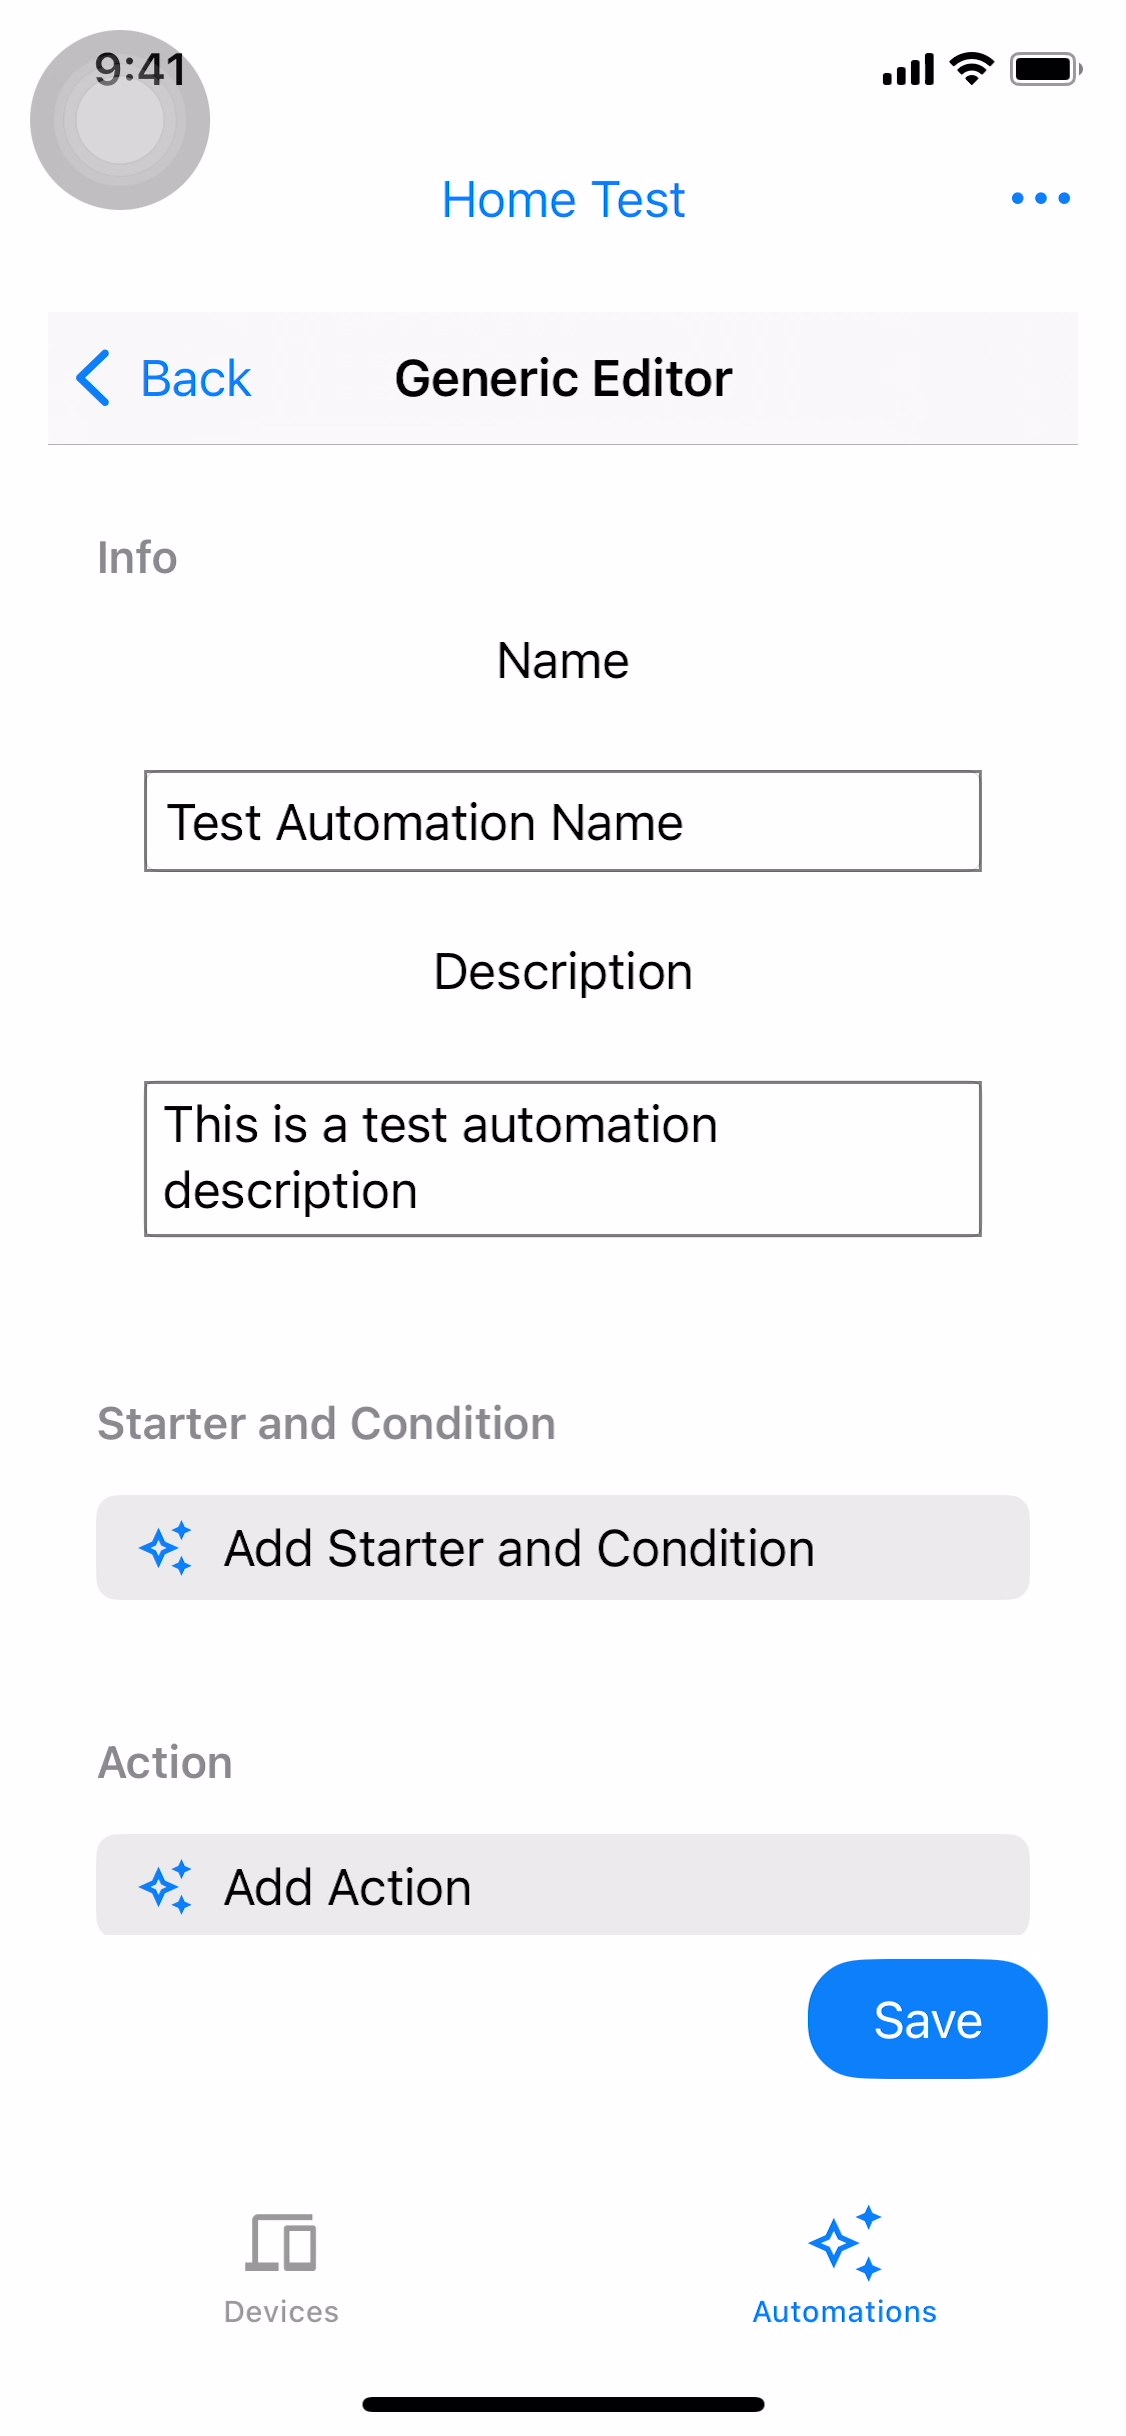
Generic automation editor
The generic editor lets you select any devices in the structure to use in starters and actions, with supporting traits as conditions, when creating automation scripts.
To add a generic automation, tap Generic Automation from the Automation Suggestions screen (Figure 5).
On the next screen, you can edit the name and description of the automation.
Add starter candidate
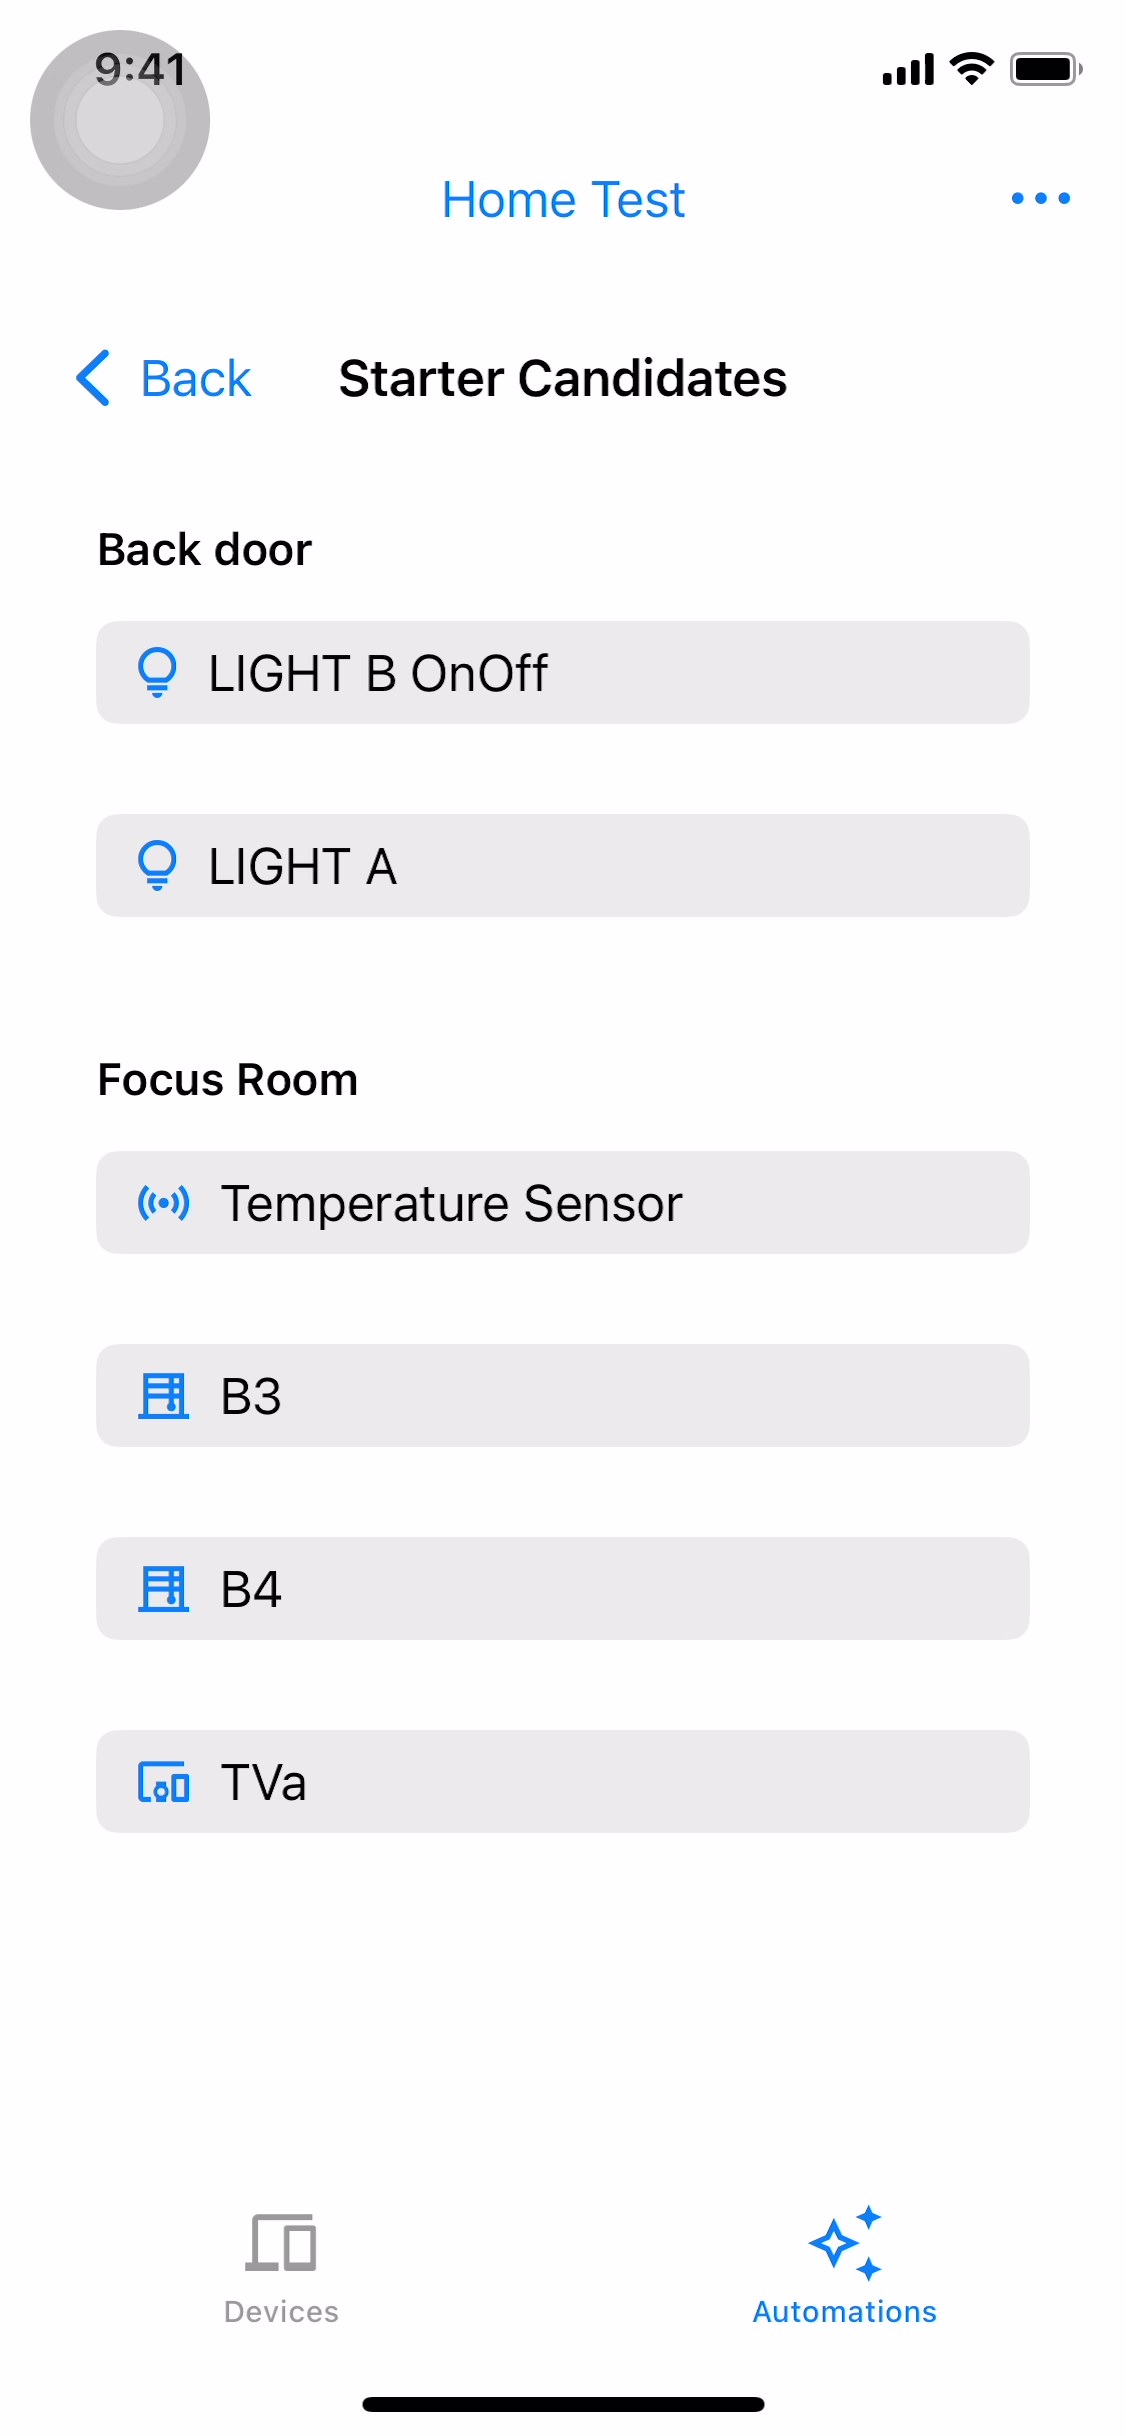
To add a starter candidate, tap Add Starter and Condition (Figure 11). The starter candidate screen displays available starters in the structure (Figure 12). Select one of the starter candidates to continue (Figure 13).
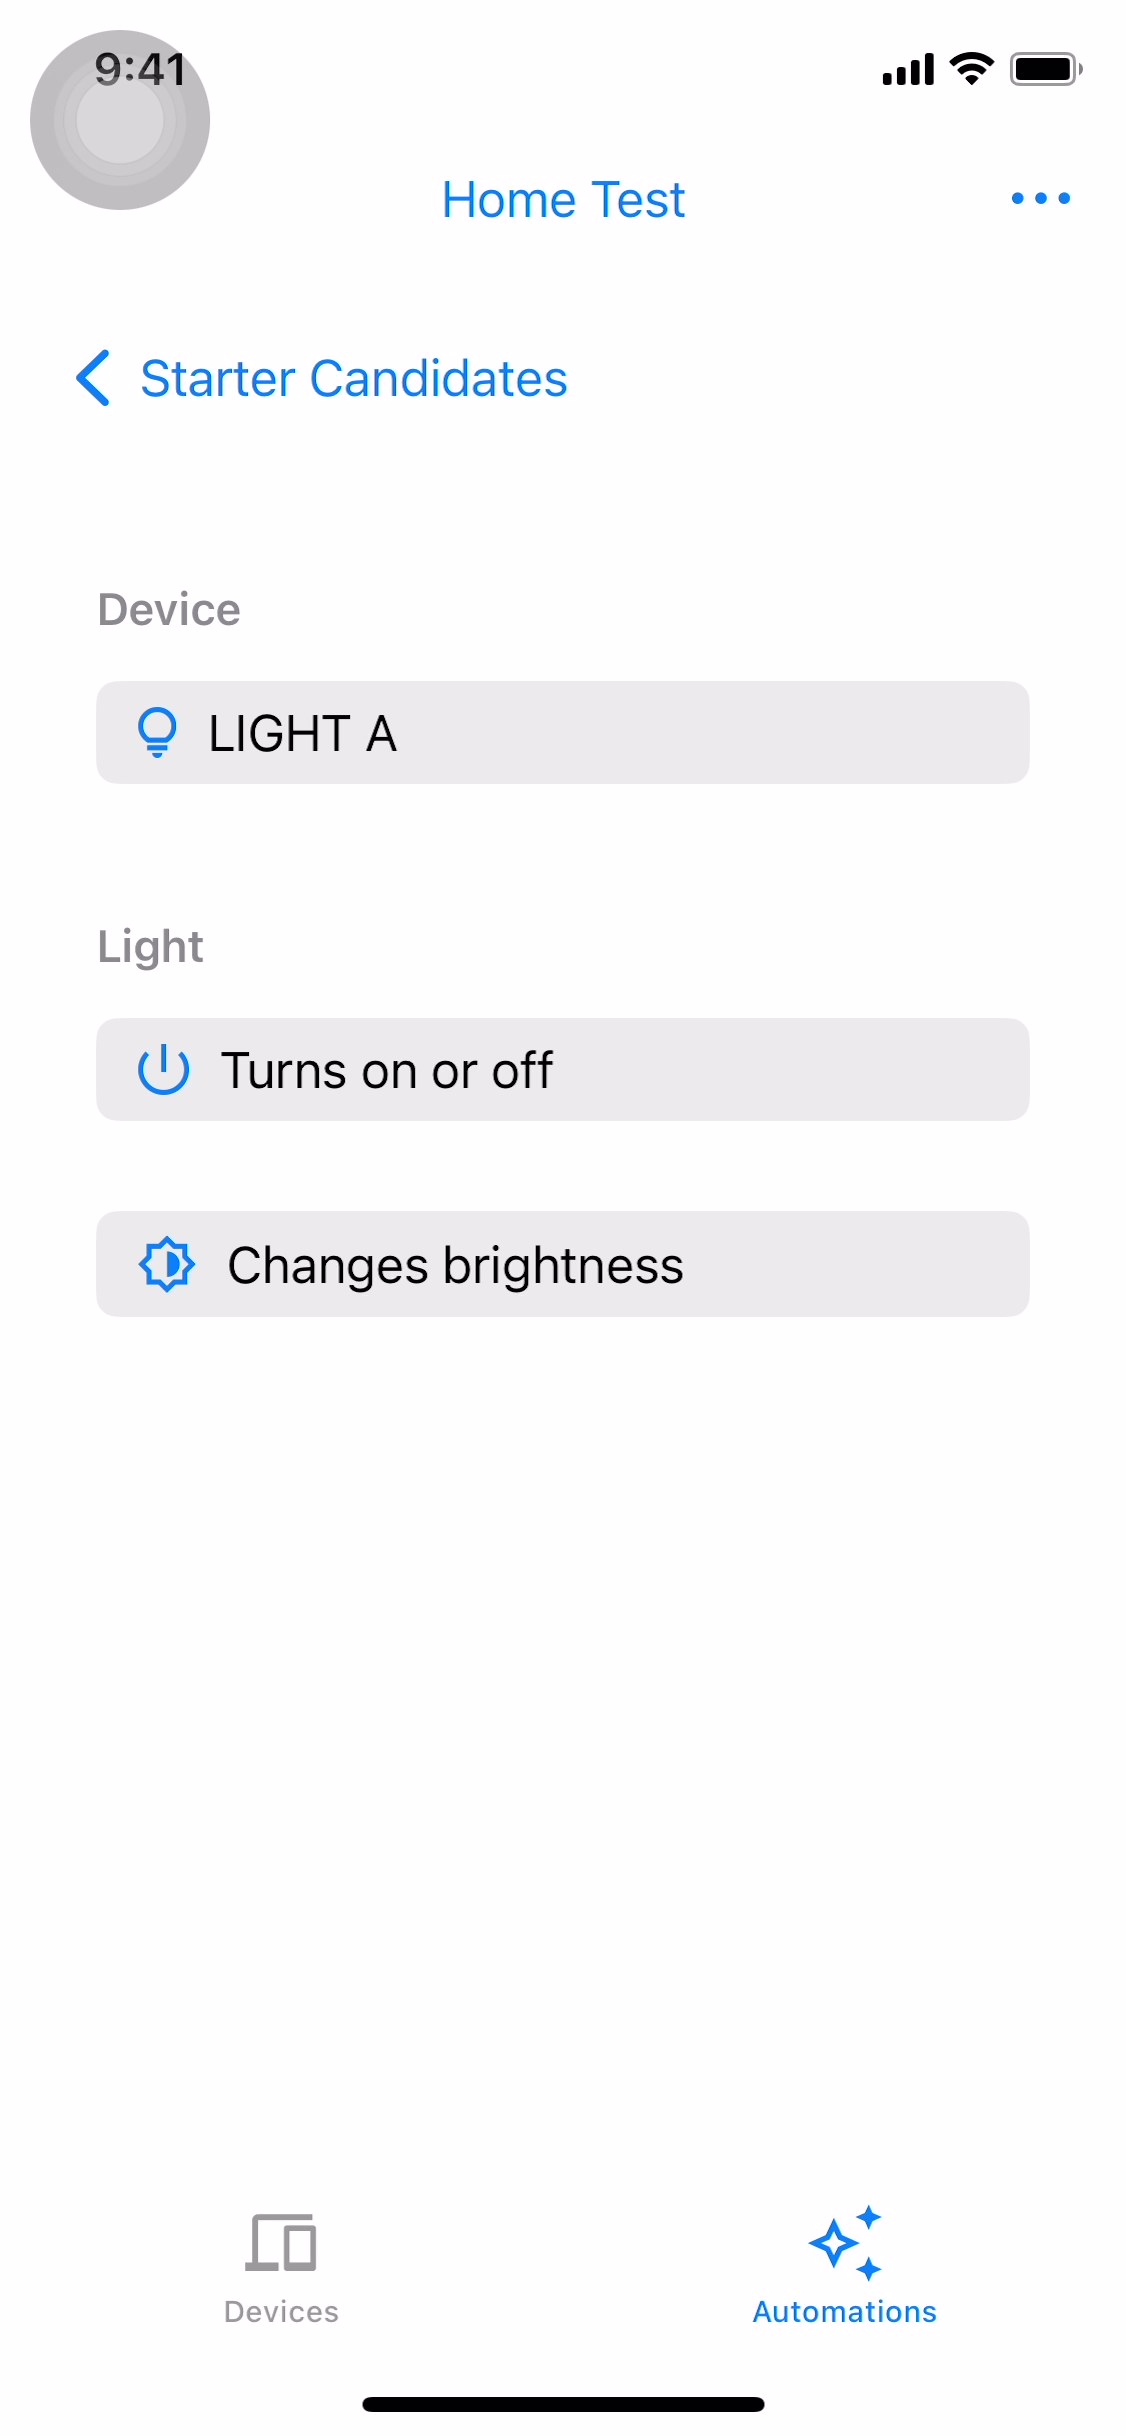
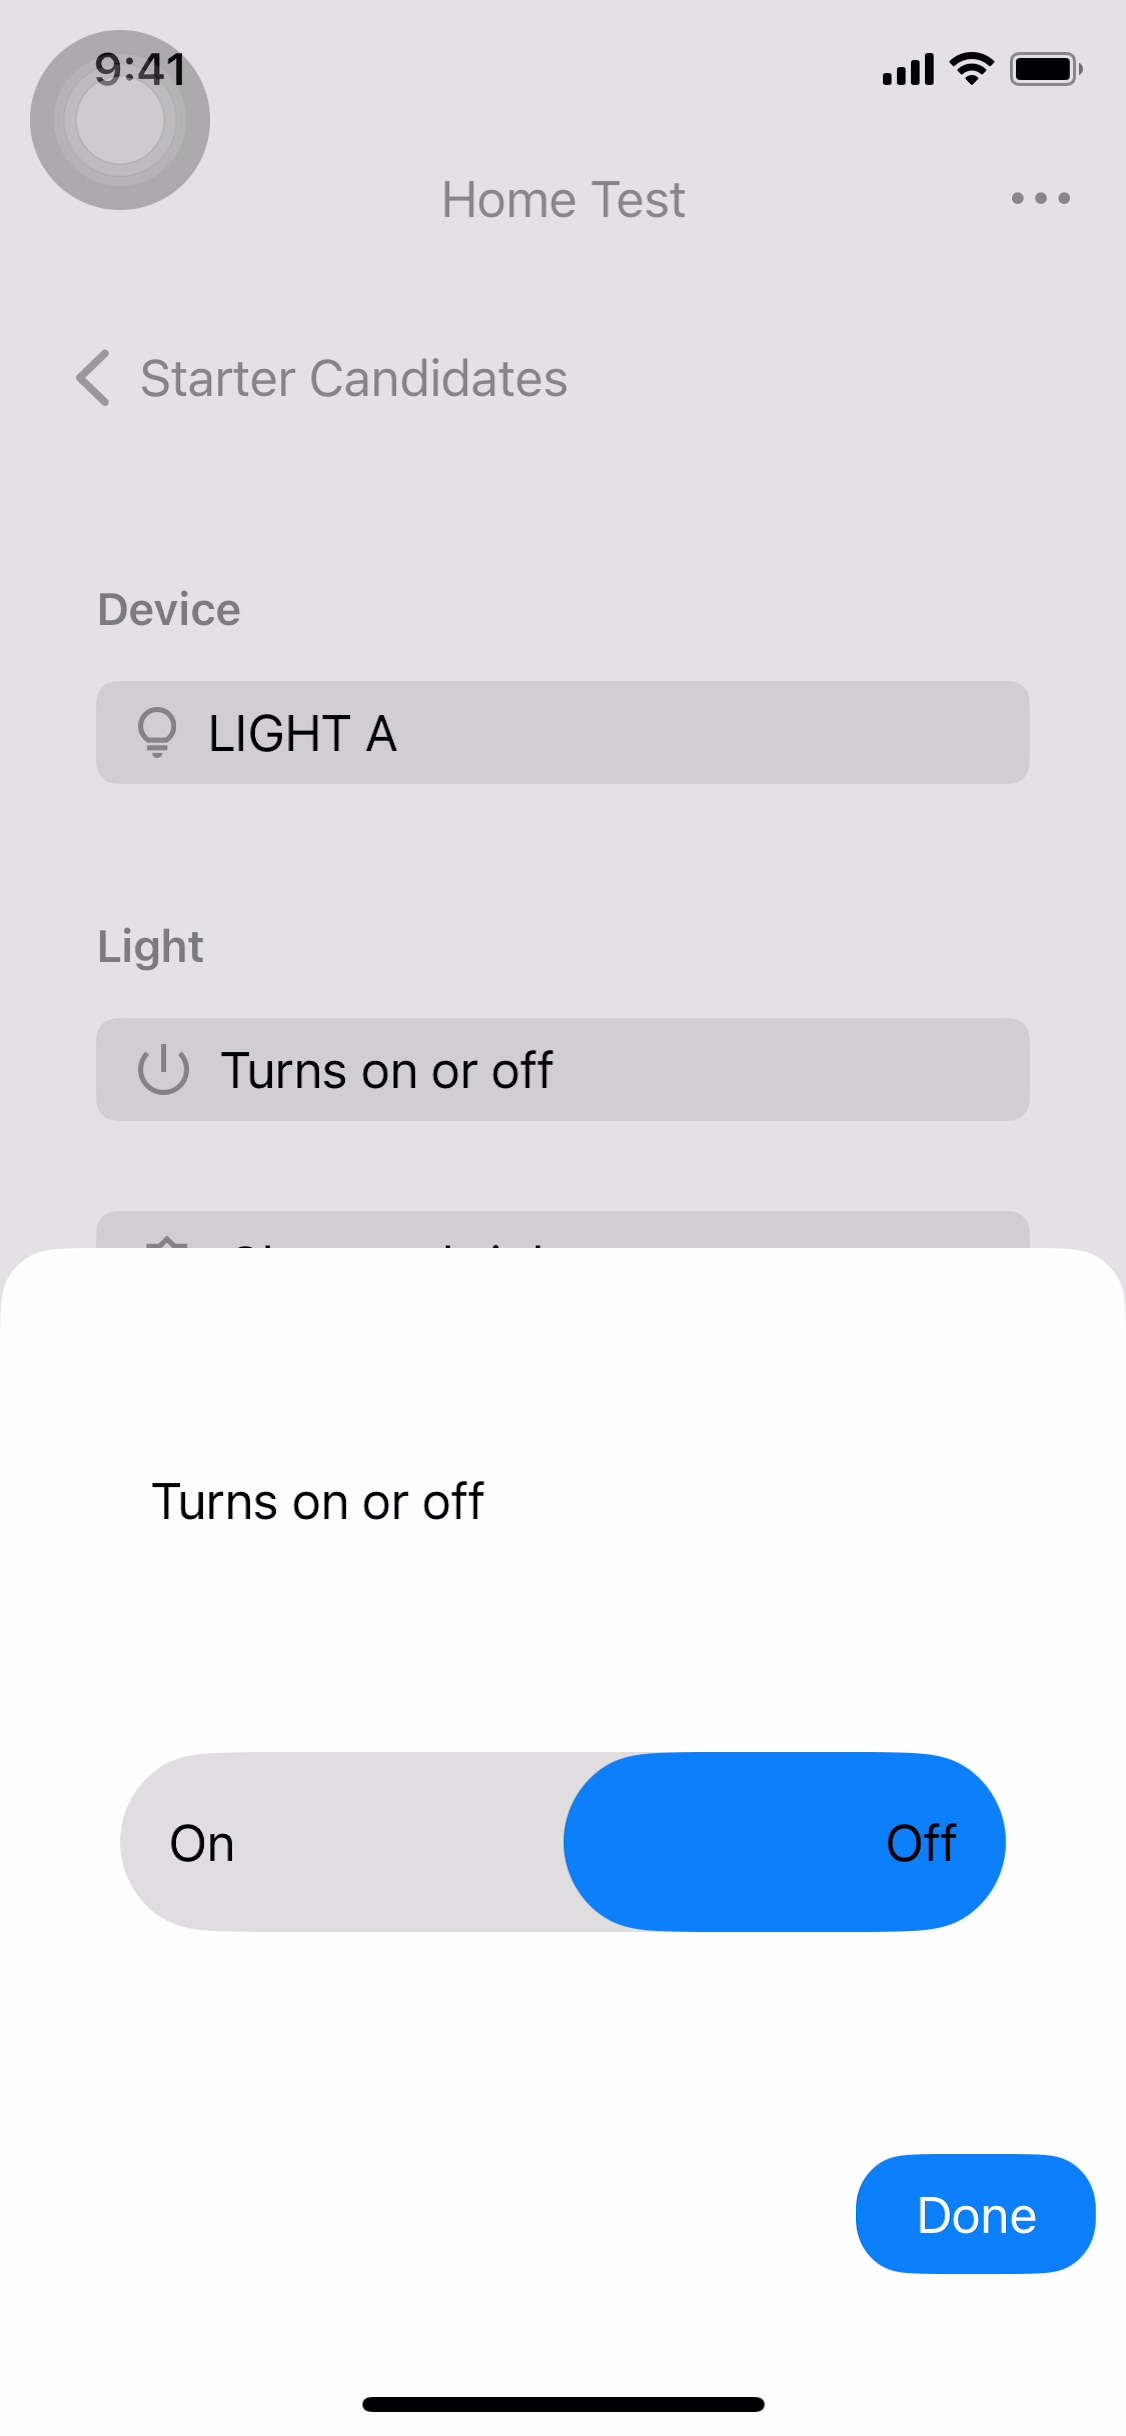
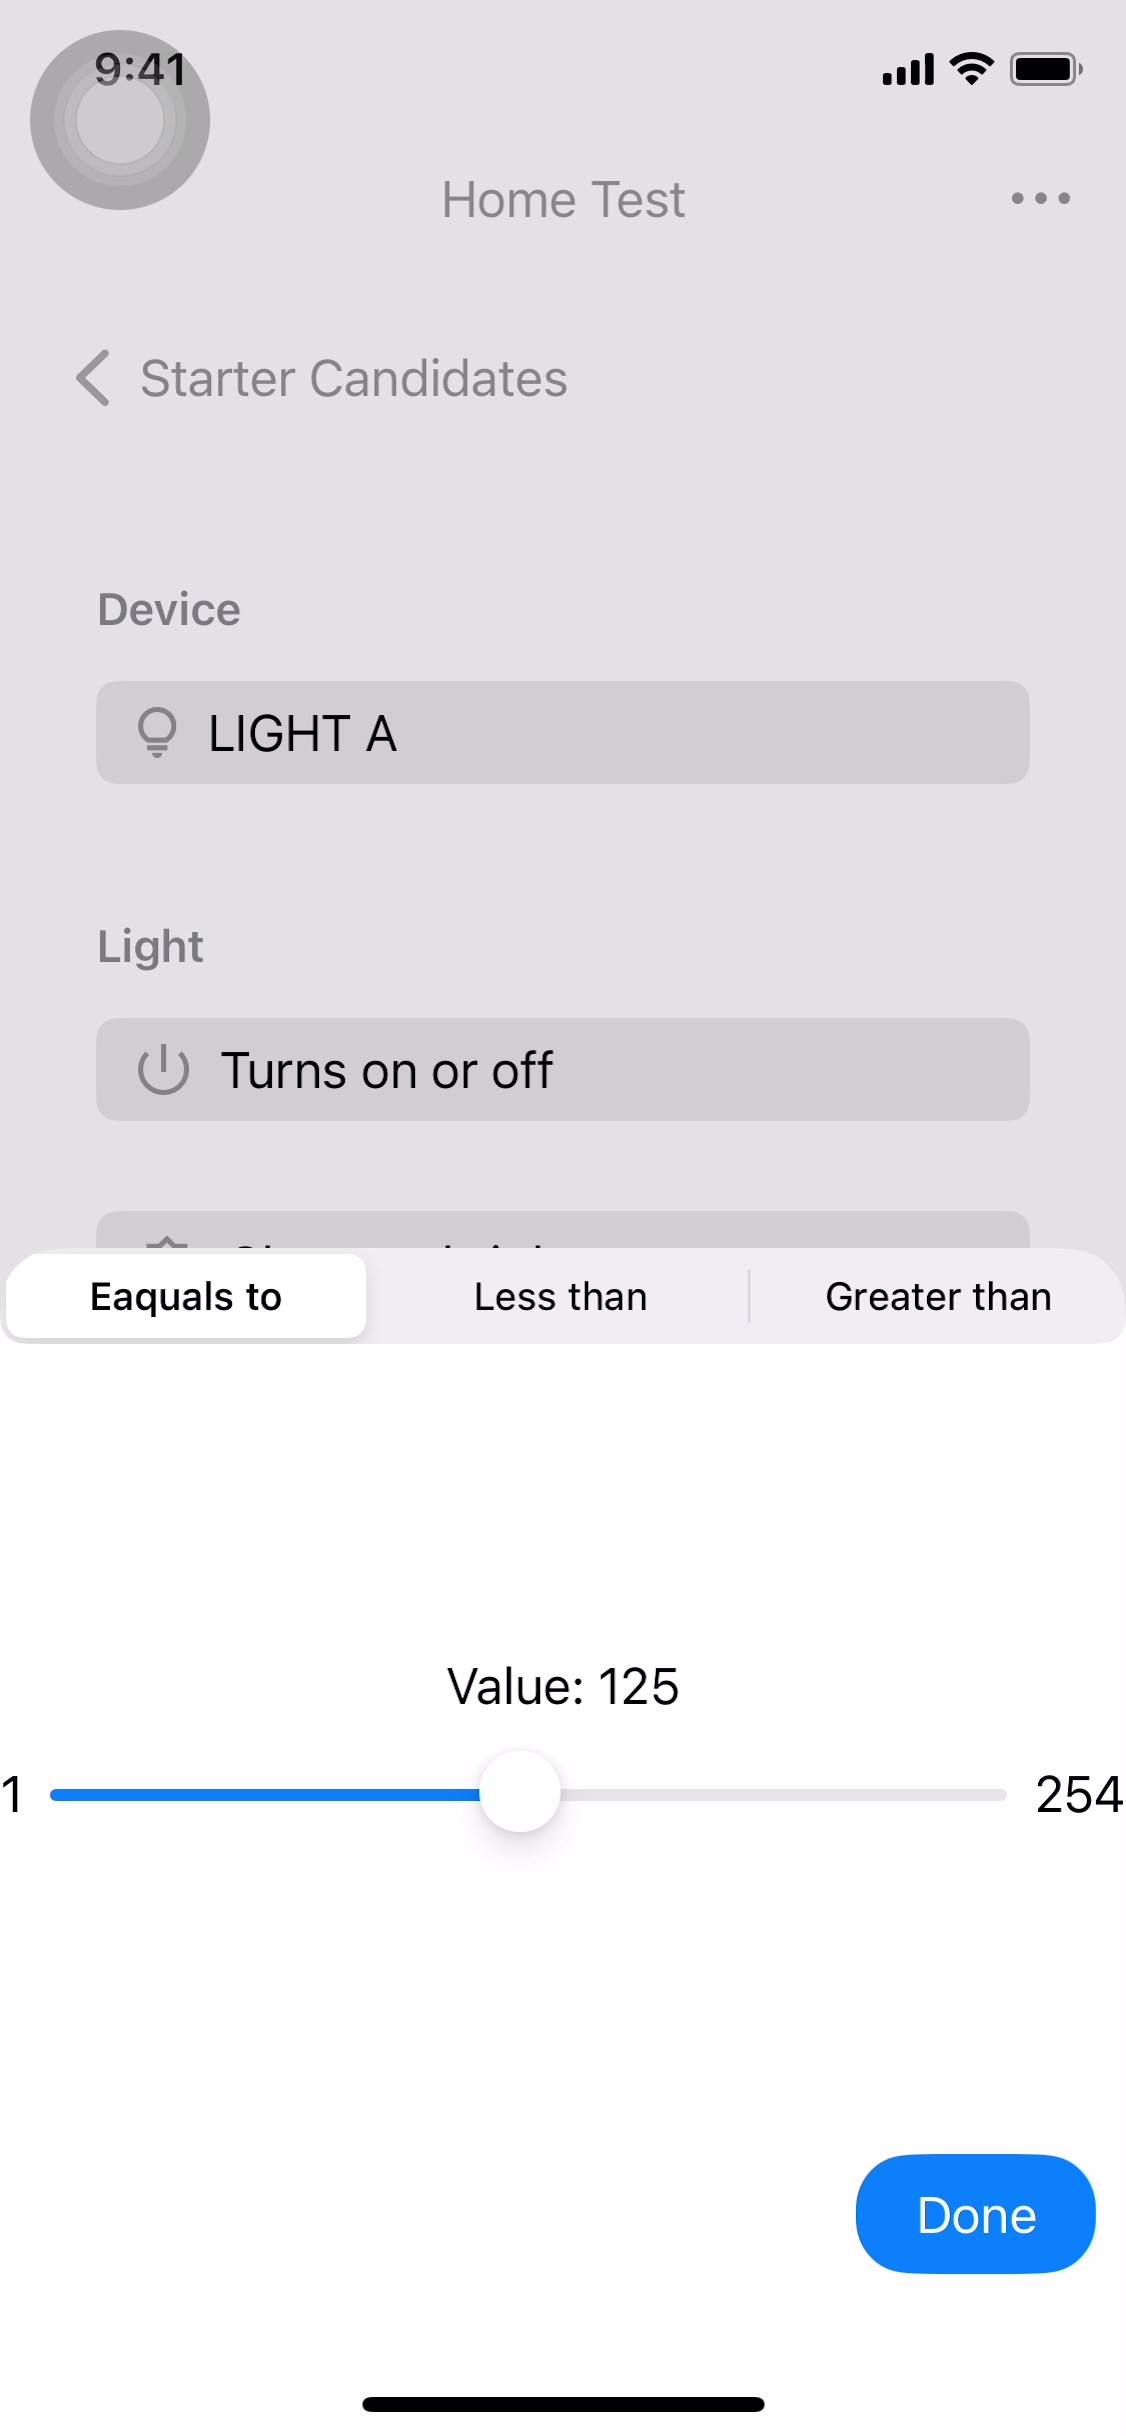
Select Turns on or off or Changes brightness (Figure 14 and Figure 15) and either toggle on or off or change the brightness. Once you are done with the configuration, tap Done to return to the generic editor screen. You will see your selected starter on the generic editor screen (Figure 16).
Add action candidate
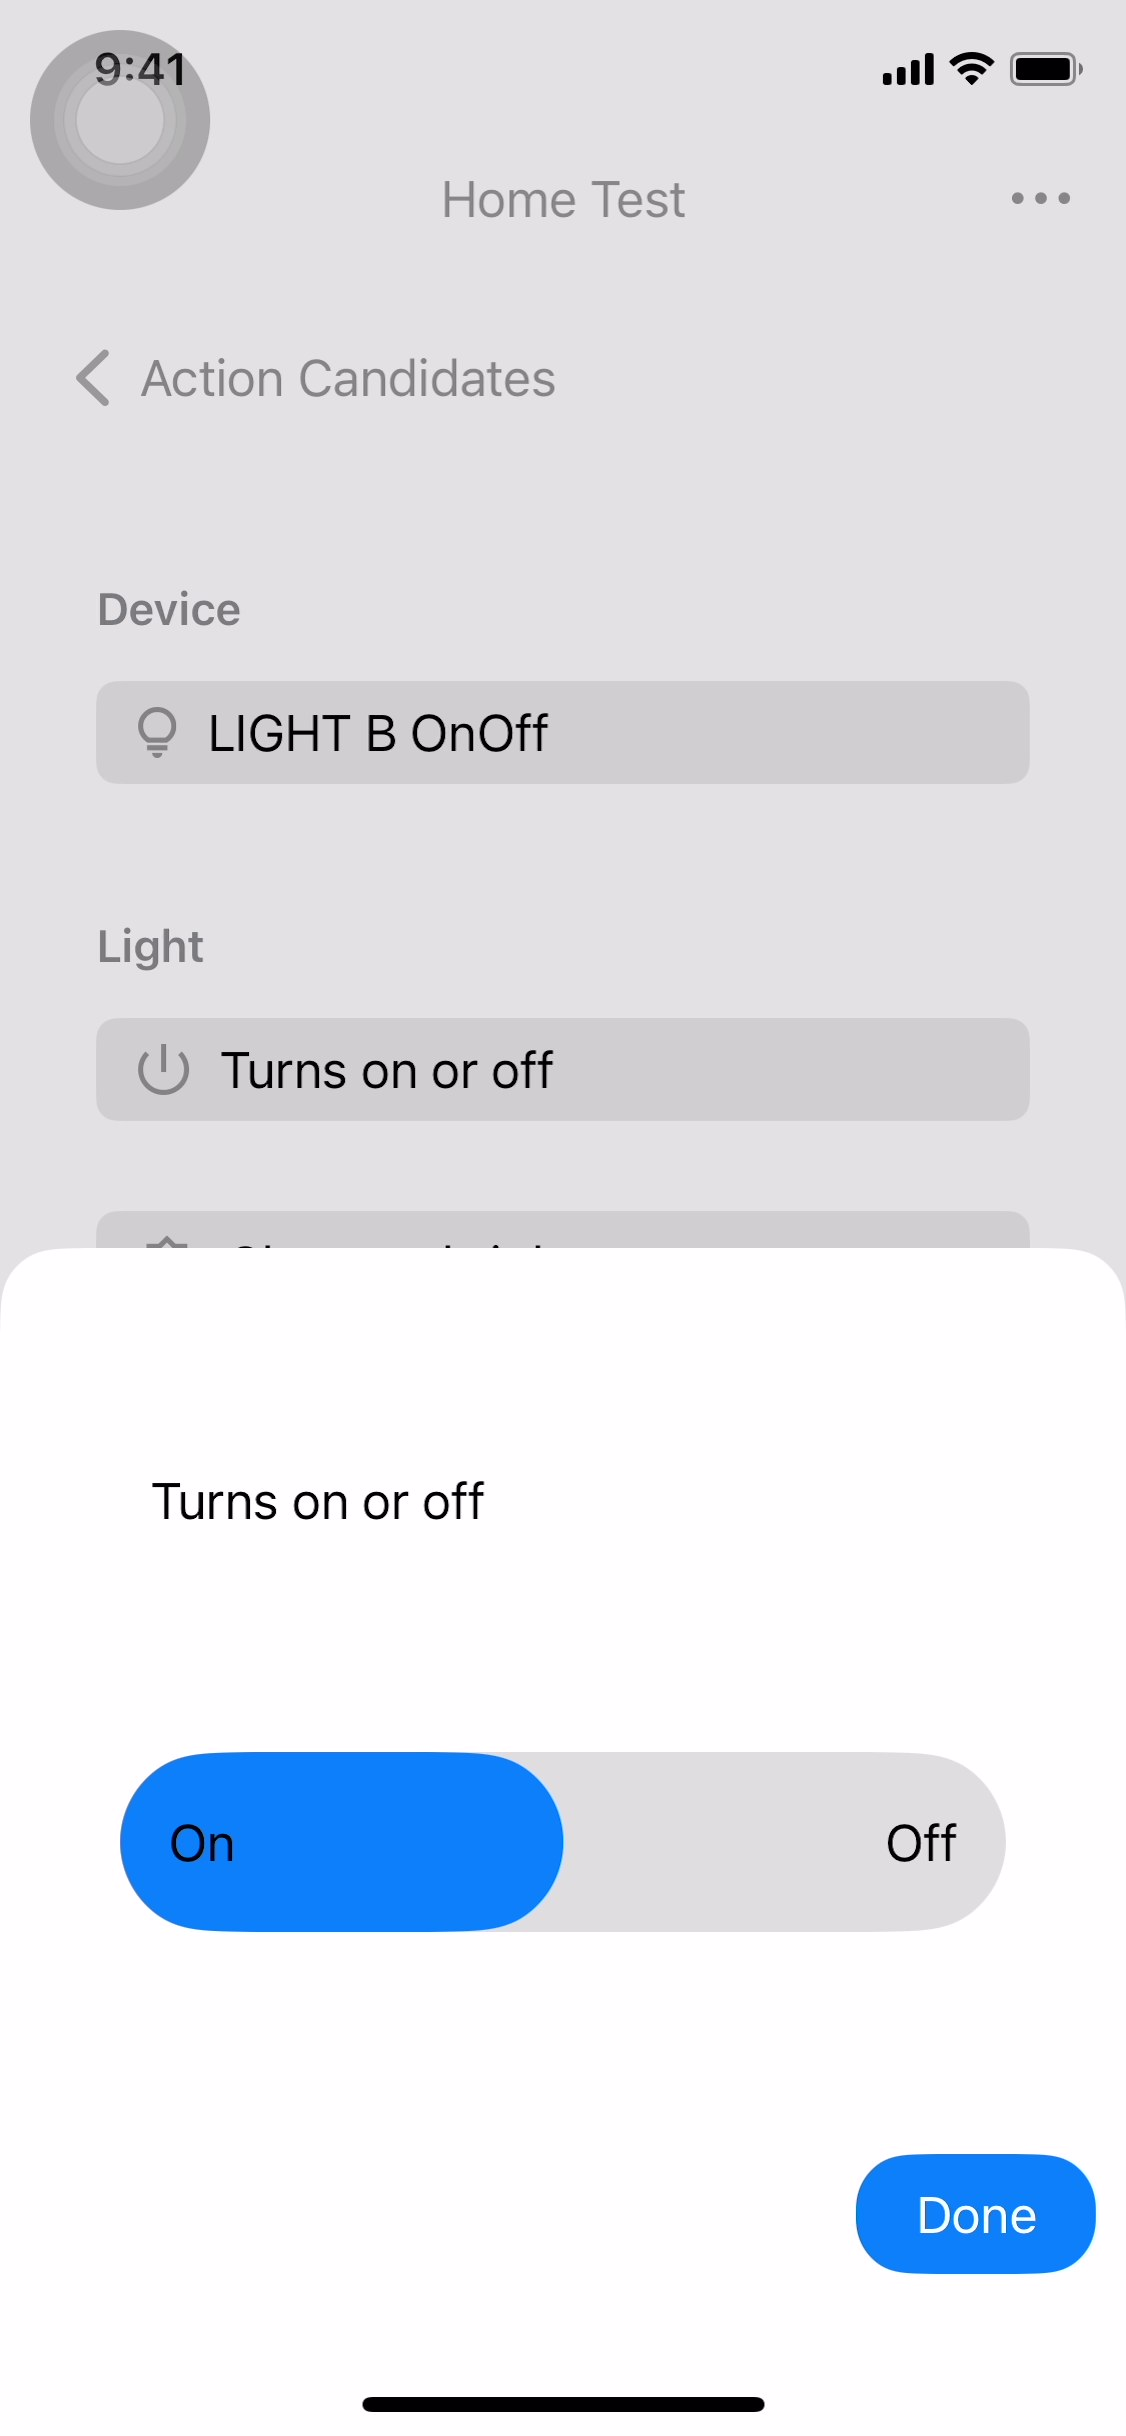
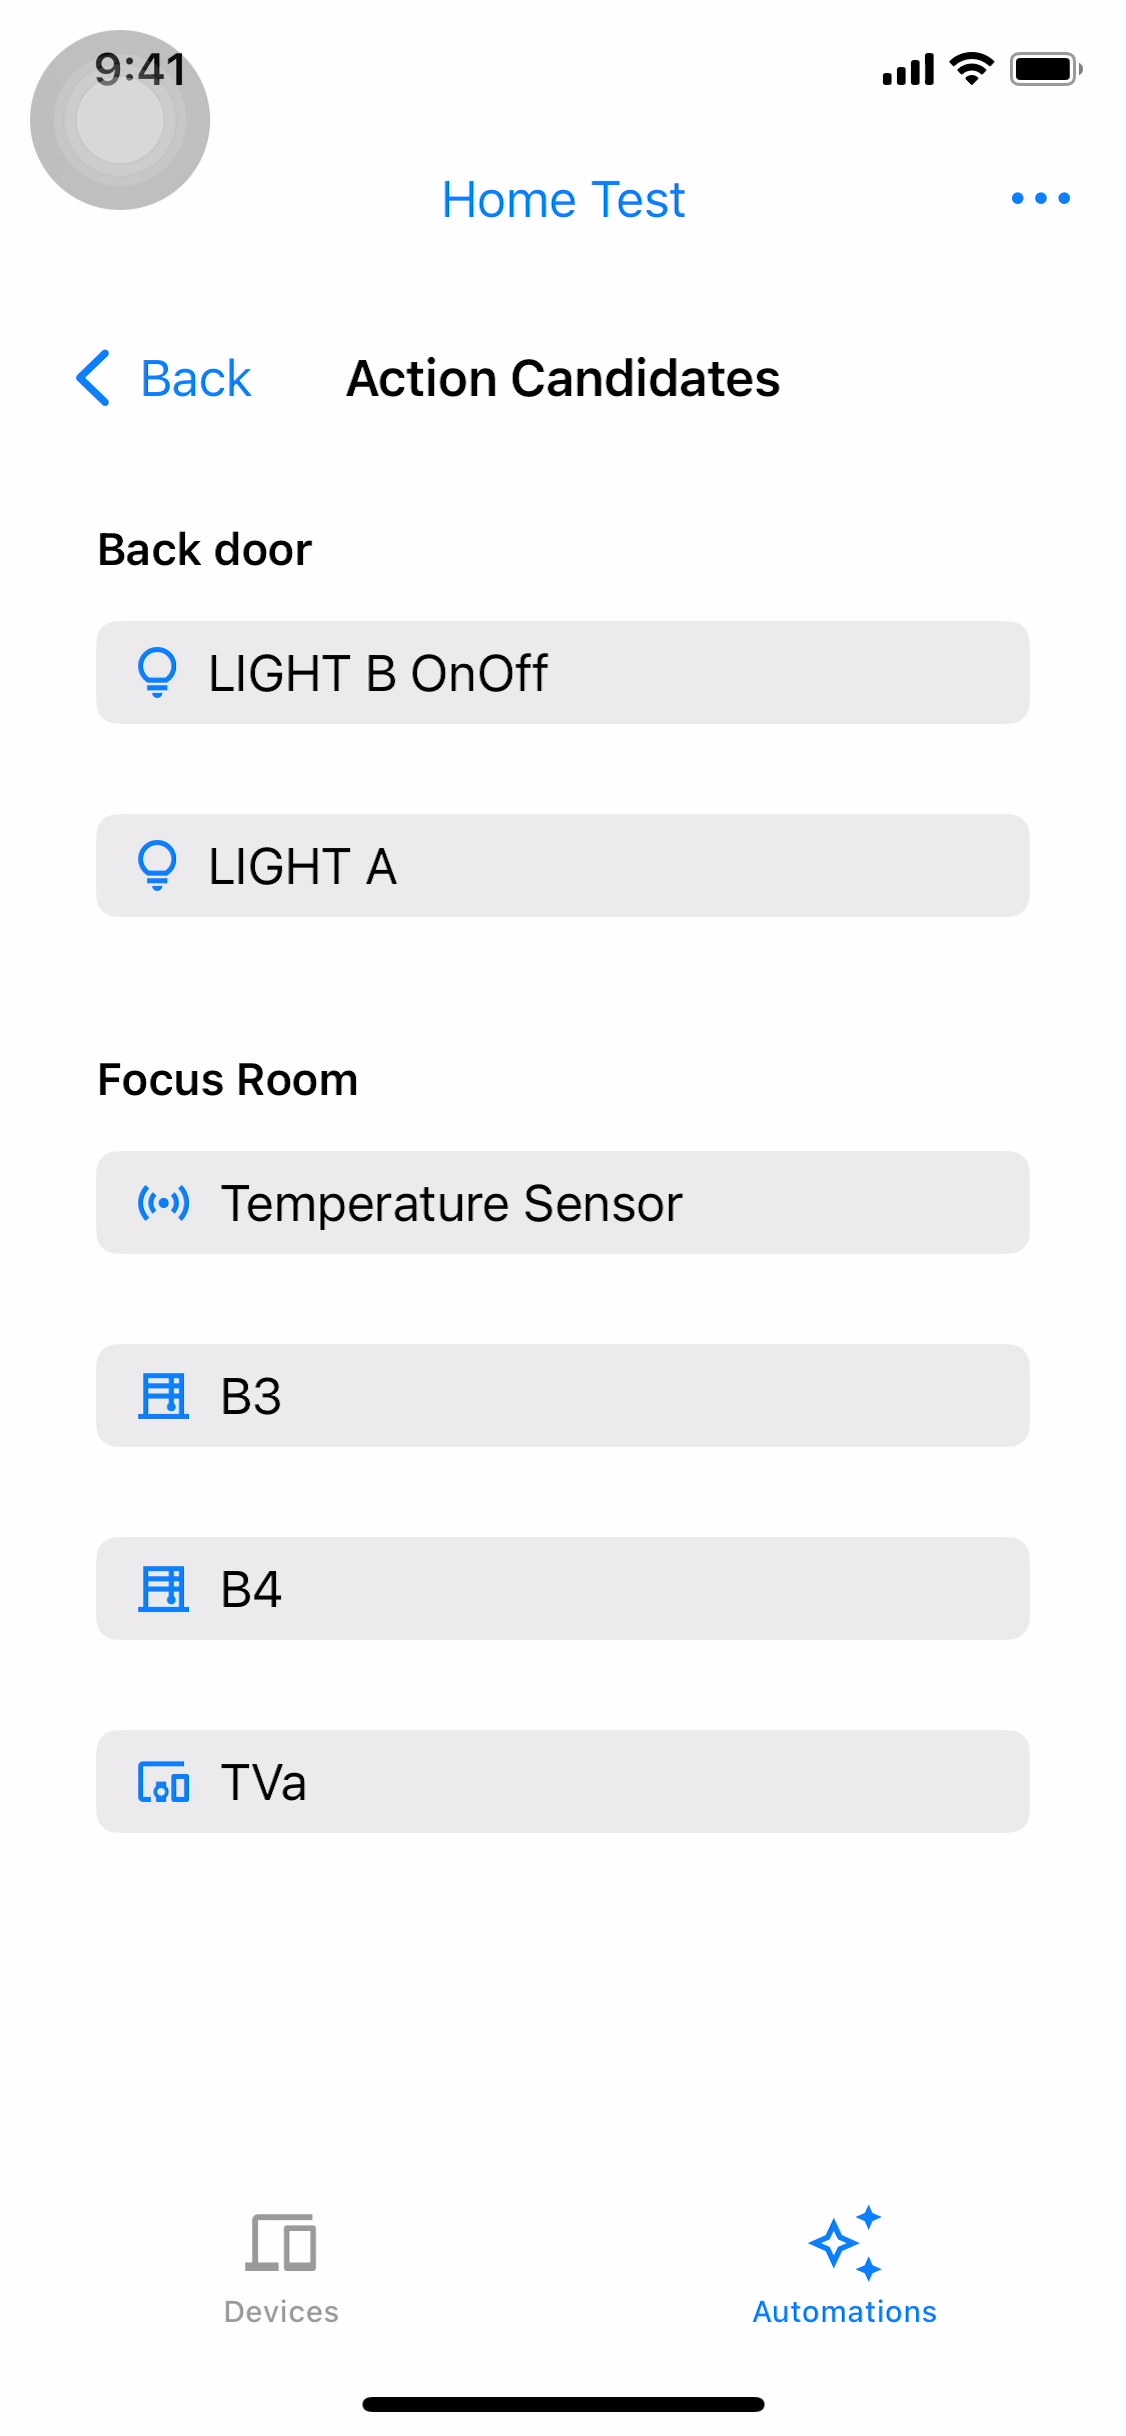
To add an action candidate, tap Add Action (Figure 17). The Action Candidates screen displays available action candidates (Figure 18). Select one of the action candidates to continue (Figure 19).
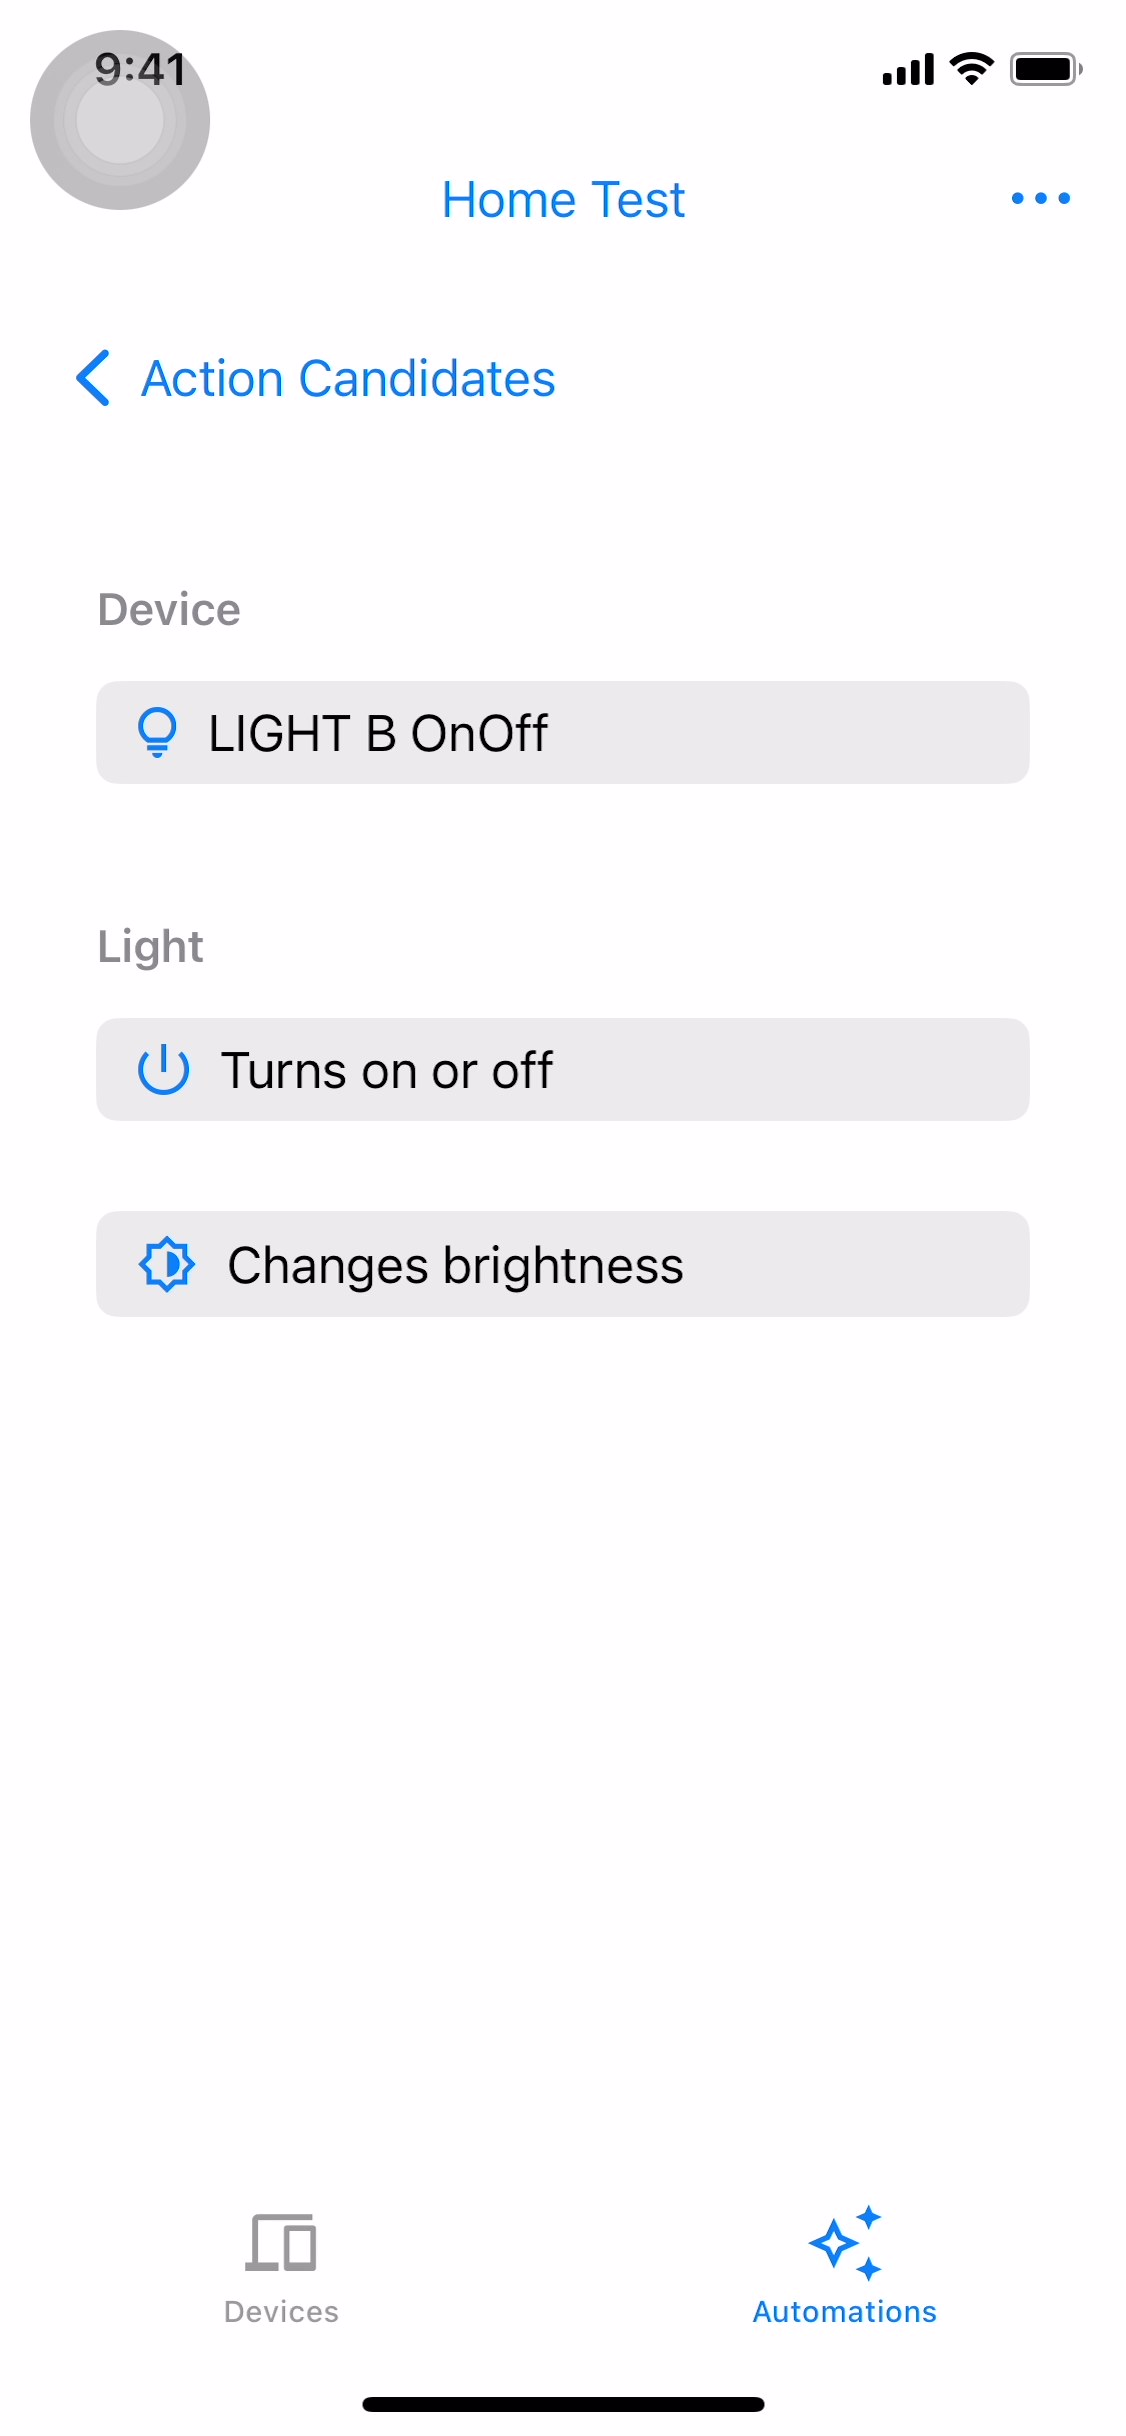
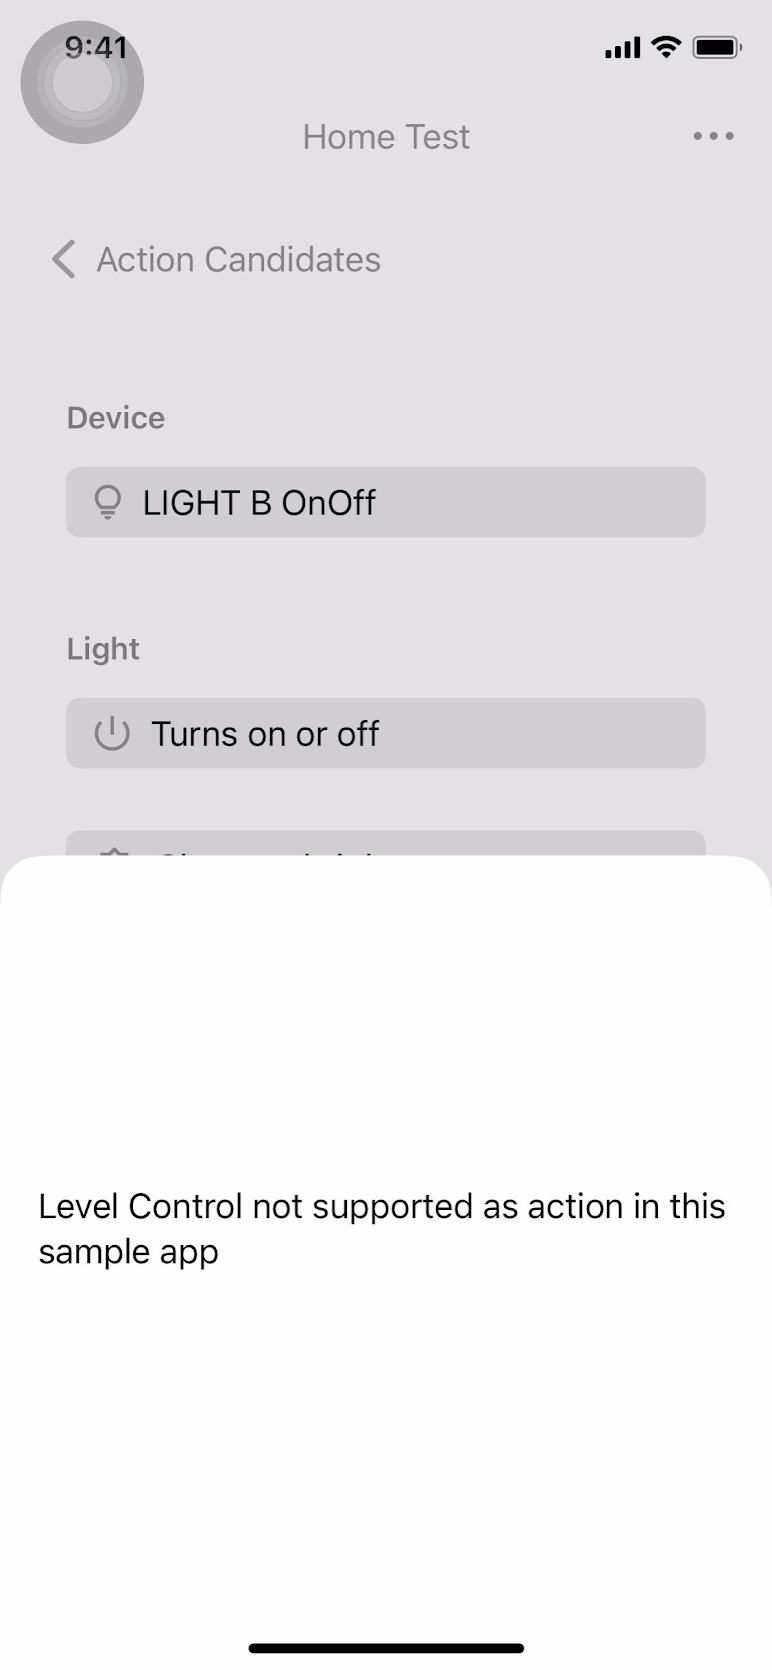
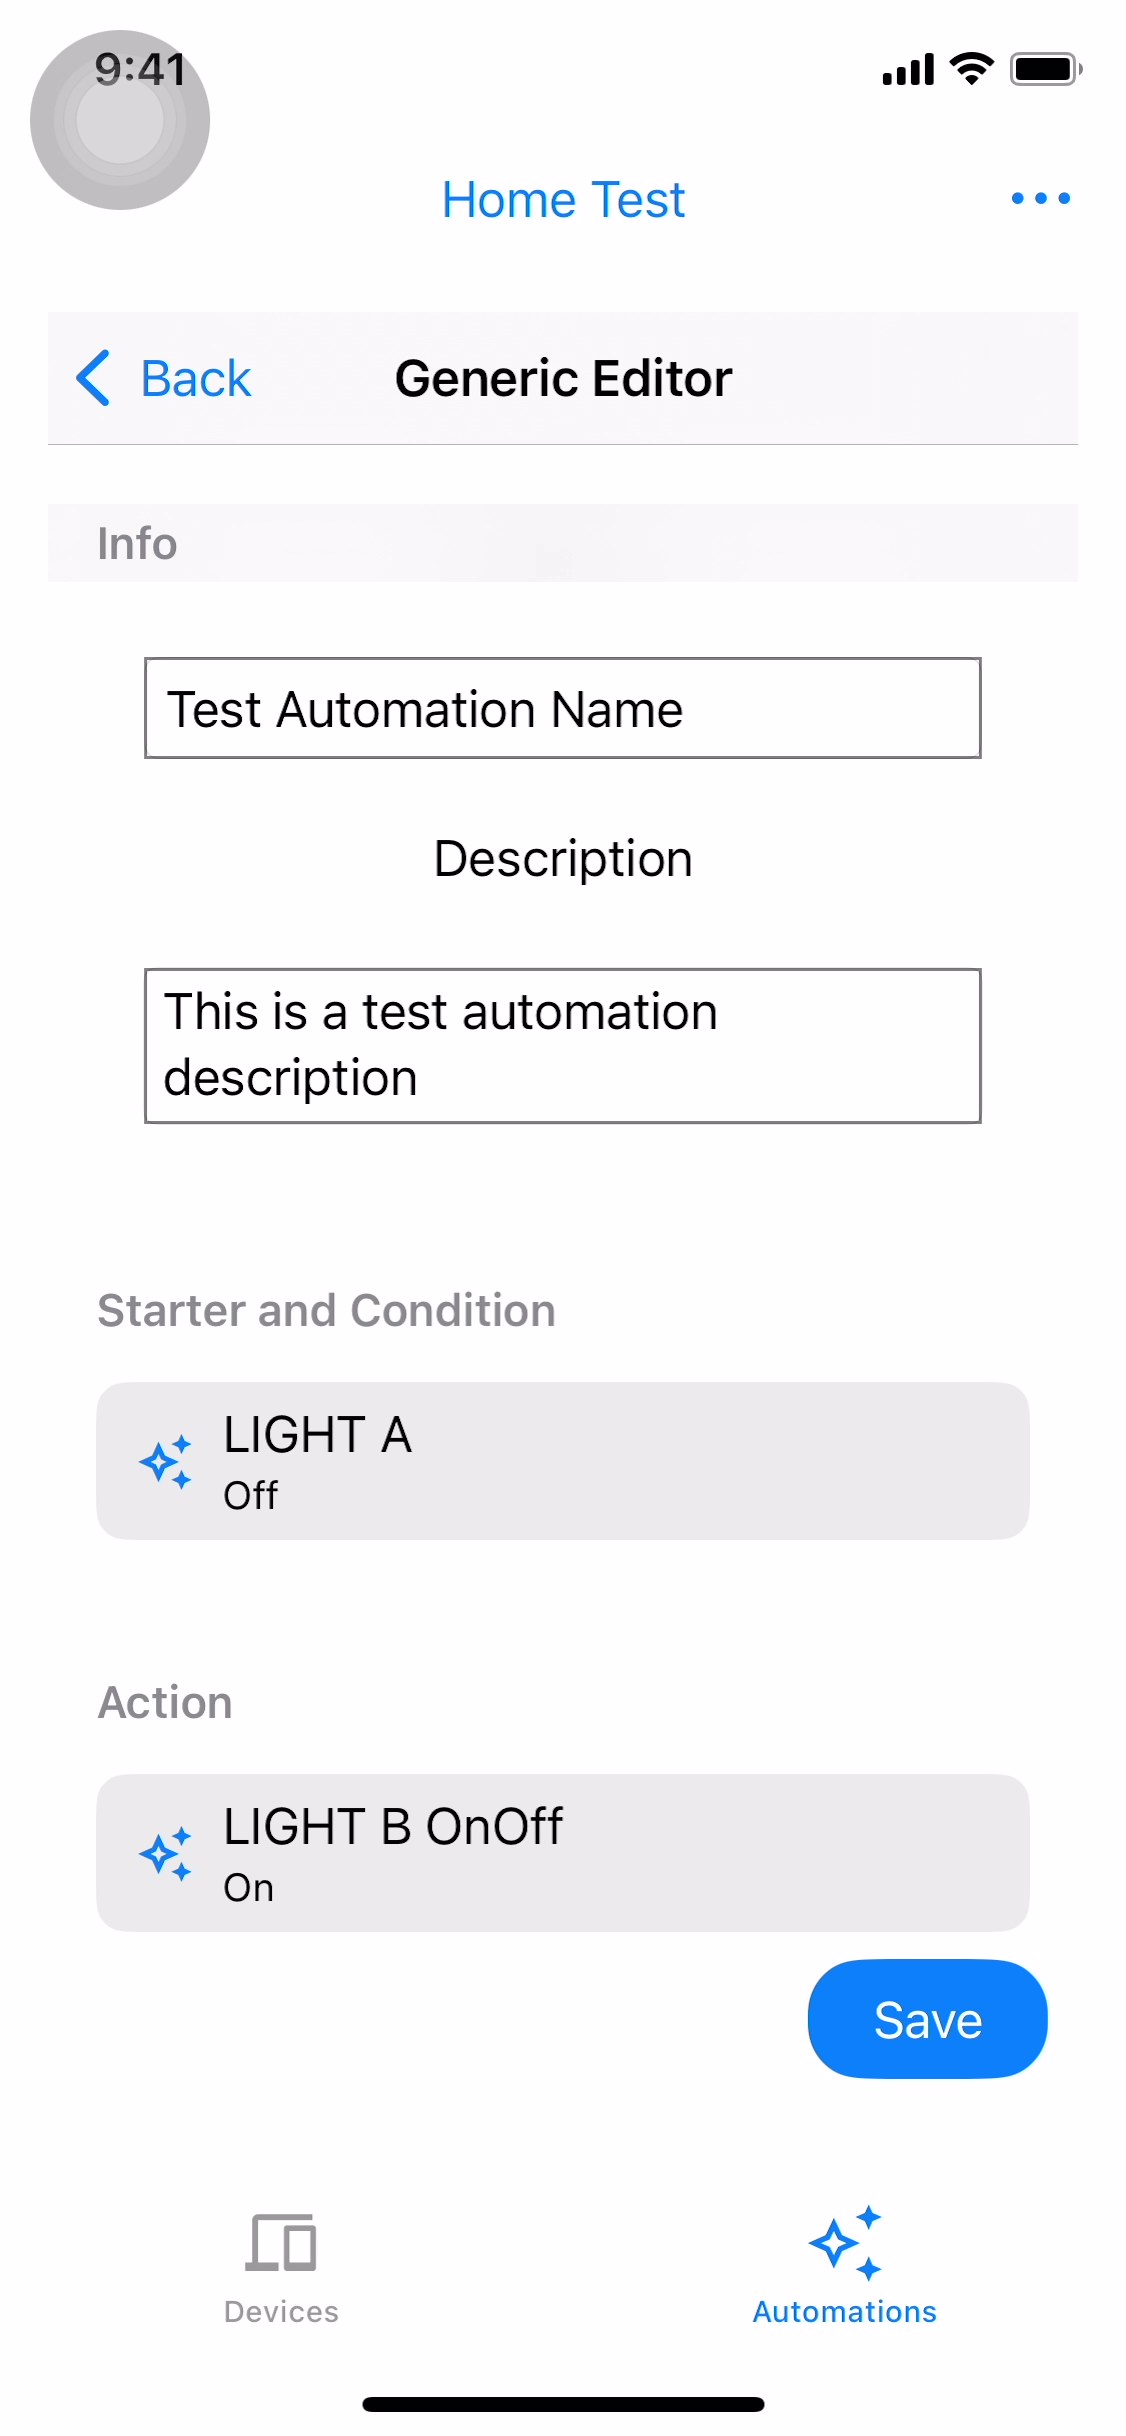
LevelControlTrait is not supported for actionsSelect Turns on or off and choose to have the device turn on or off. Tap Done to return to the generic editor screen (Figure 21). Tap Save to create the automation (Figure 22). Your automation will display on the automation tab (Figure 23).